
Eleven kinds of app, each built step by step. They all start from the same short recipe; what differs is which widgets you place and what you wire them to.
New here? Read Mini Apps first — it explains what a widget, a binding, and an operation are in a page. Every widget and setting is listed in the Reference.
Fix the workflow first
The workflow decides what the app can show and change. Sort this out first and the app itself is twenty minutes of layout.
- Anything the user should change needs an Input node. That’s what the widget wires to. A value with no Input node can’t be edited from the app — except through the node-setting trick in recipe 5.
- Anything the user should see needs an Output node. A workflow that just ends, with no Output node attached, produces nothing an app can display.
- Give every input a sensible default. An app whose first Run needs four empty fields filled in gets abandoned. With defaults, the first run is one click.
- Run the workflow once on its own first. Debug a graph as a graph. An app over a broken workflow only tells you the app is broken.
The starting recipe
Every app below begins here.
-
Open the Apps panel in the left sidebar. The two buttons in its header are Create app from workflow and New app.
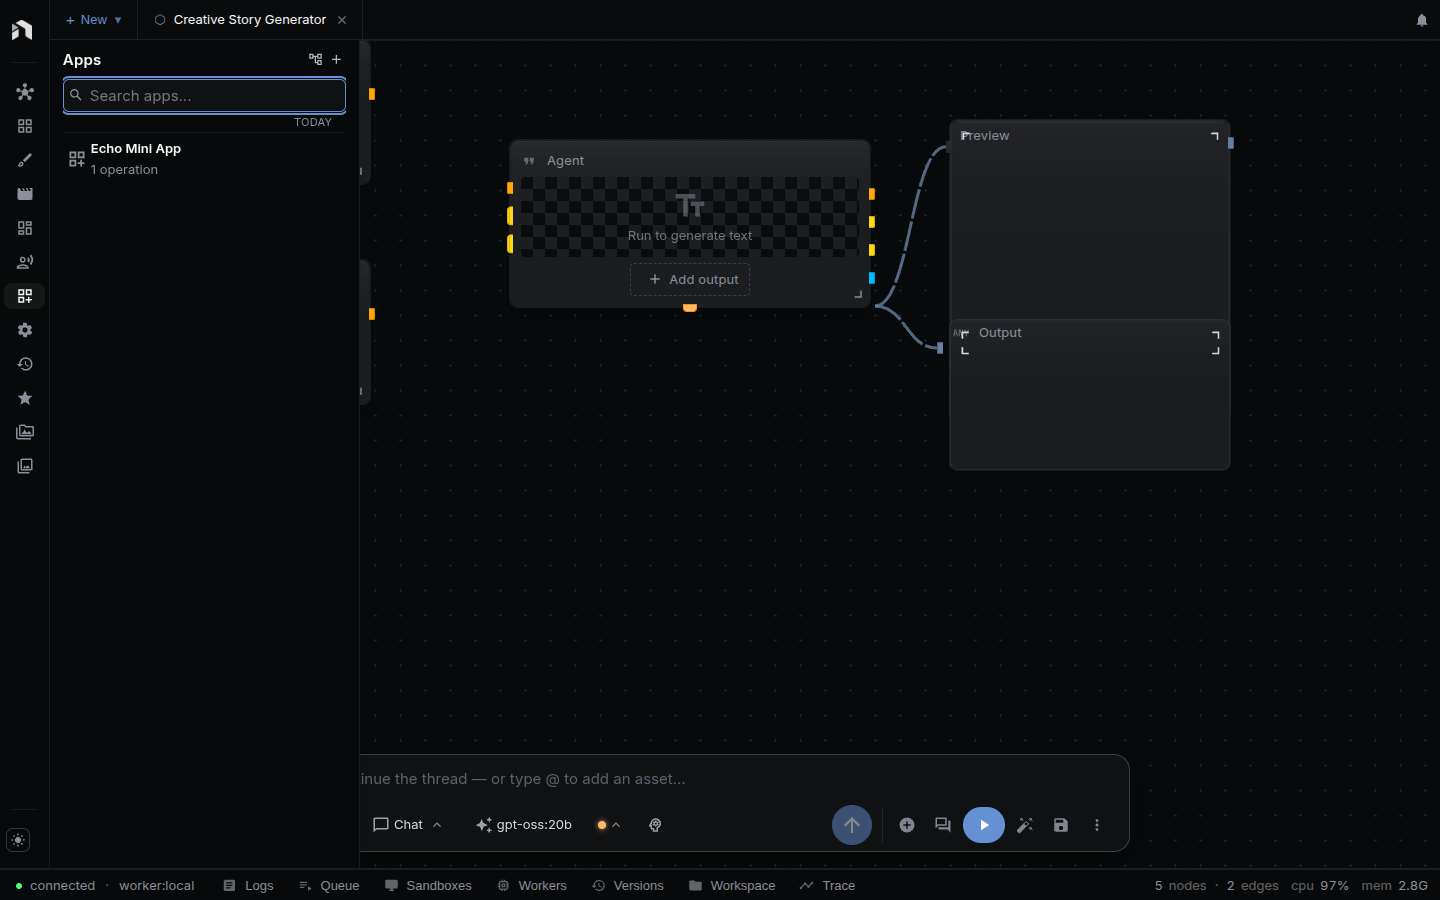
- Click New app for an empty screen, or Create app from workflow to get a starting layout with one widget per Input and Output node, a Run and Cancel button, a progress bar, and an error alert. Either way the app opens as its own workspace tab.
-
Switch the tab to Design. That’s App Builder: palette on the left, the app screen in the middle, the selected widget’s settings on the right.
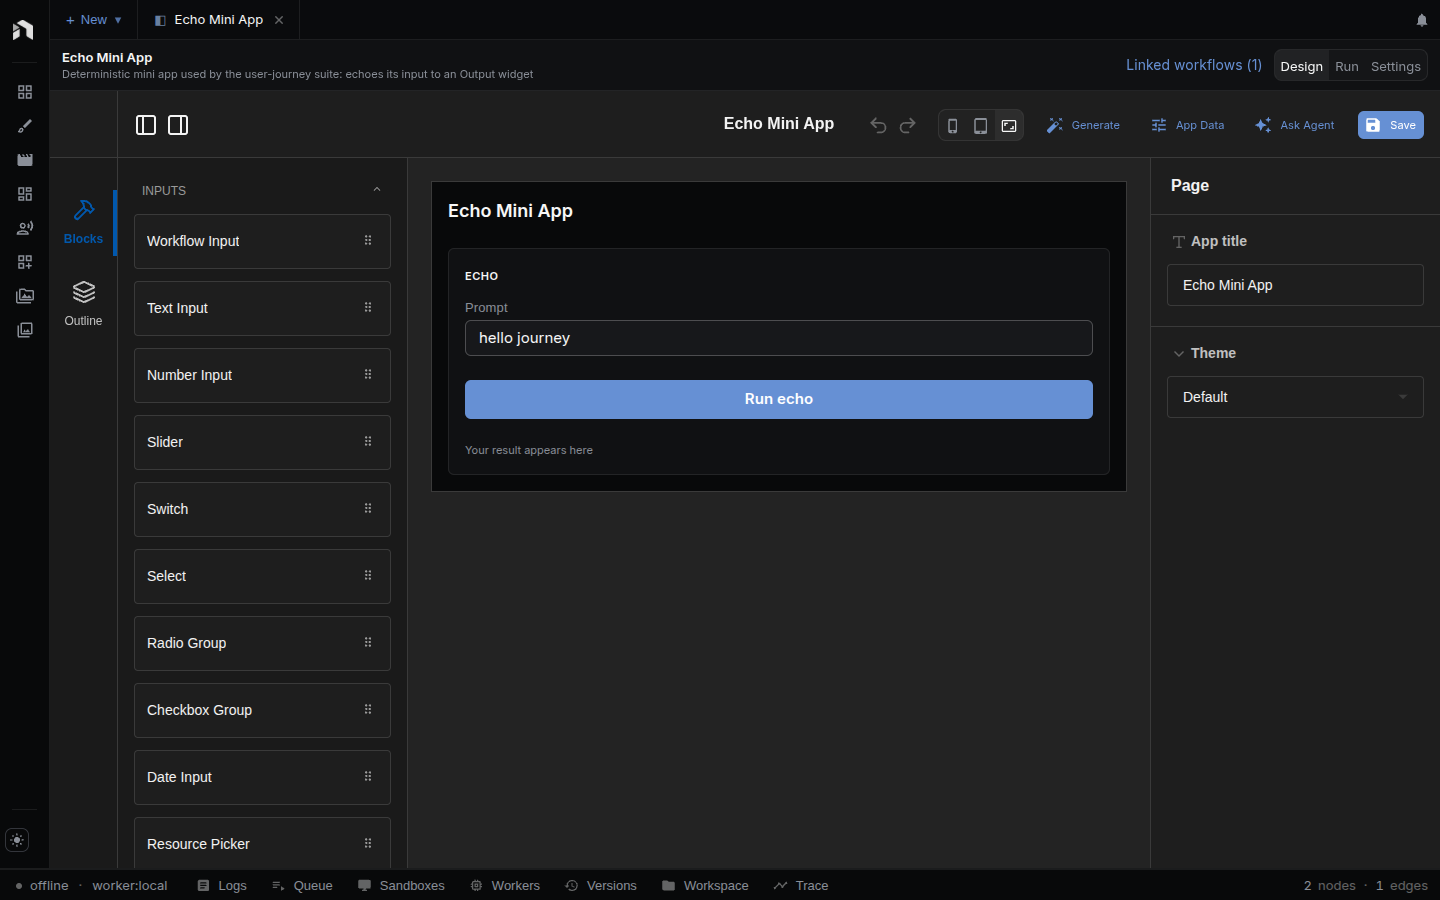
- Drag widgets from the palette onto the canvas.
-
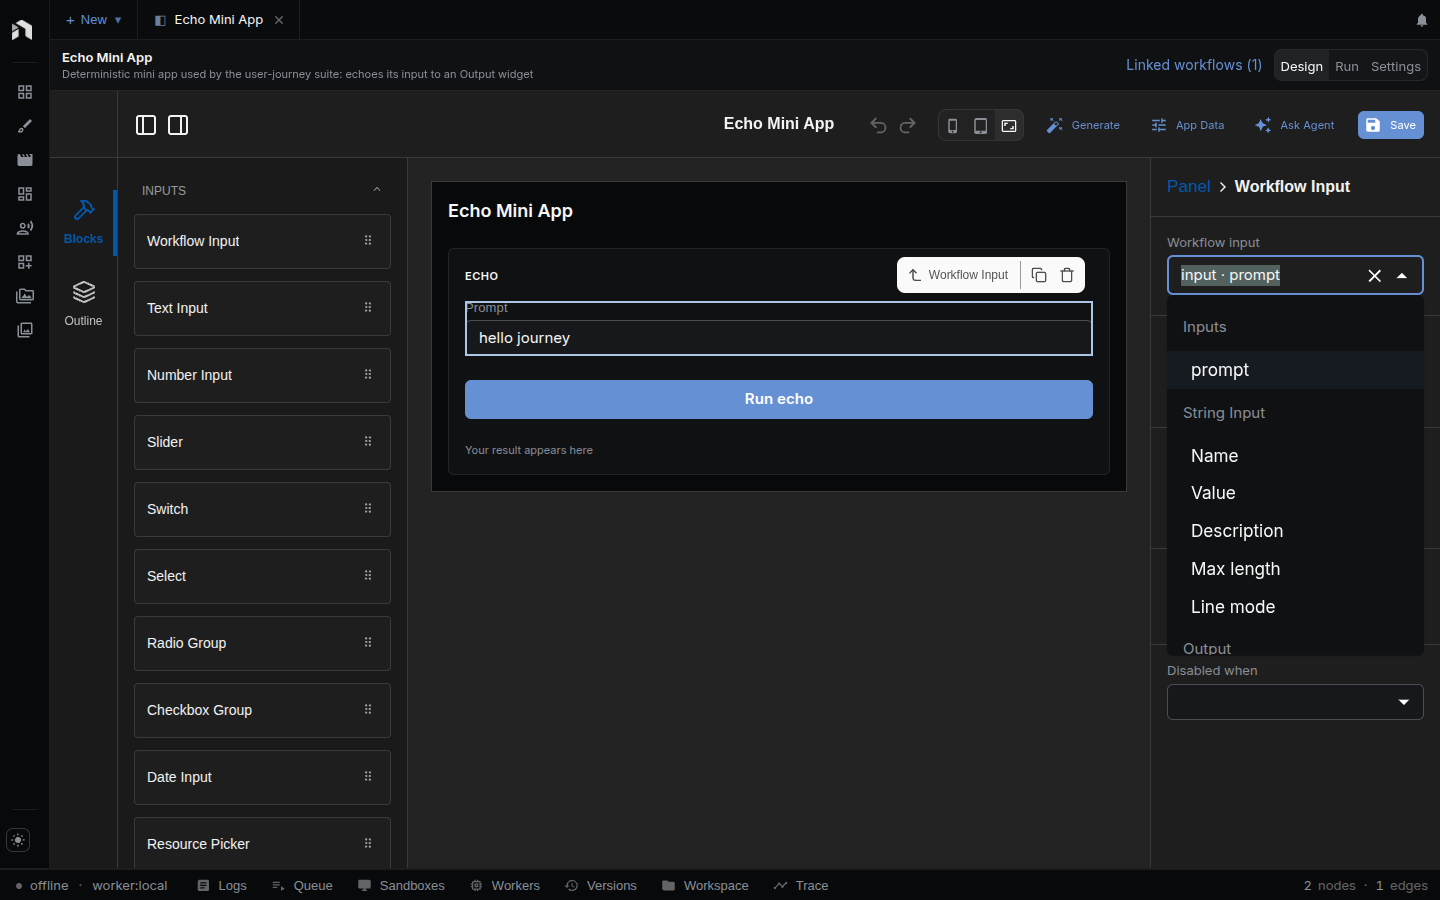
Select a widget and pick what it’s wired to in the right-hand panel. The menu lists what the workflow actually offers: Input nodes for widgets the user types into, Output nodes and variables for widgets that show results.
-
Add a Button and give it an On click event with the Run workflow action.
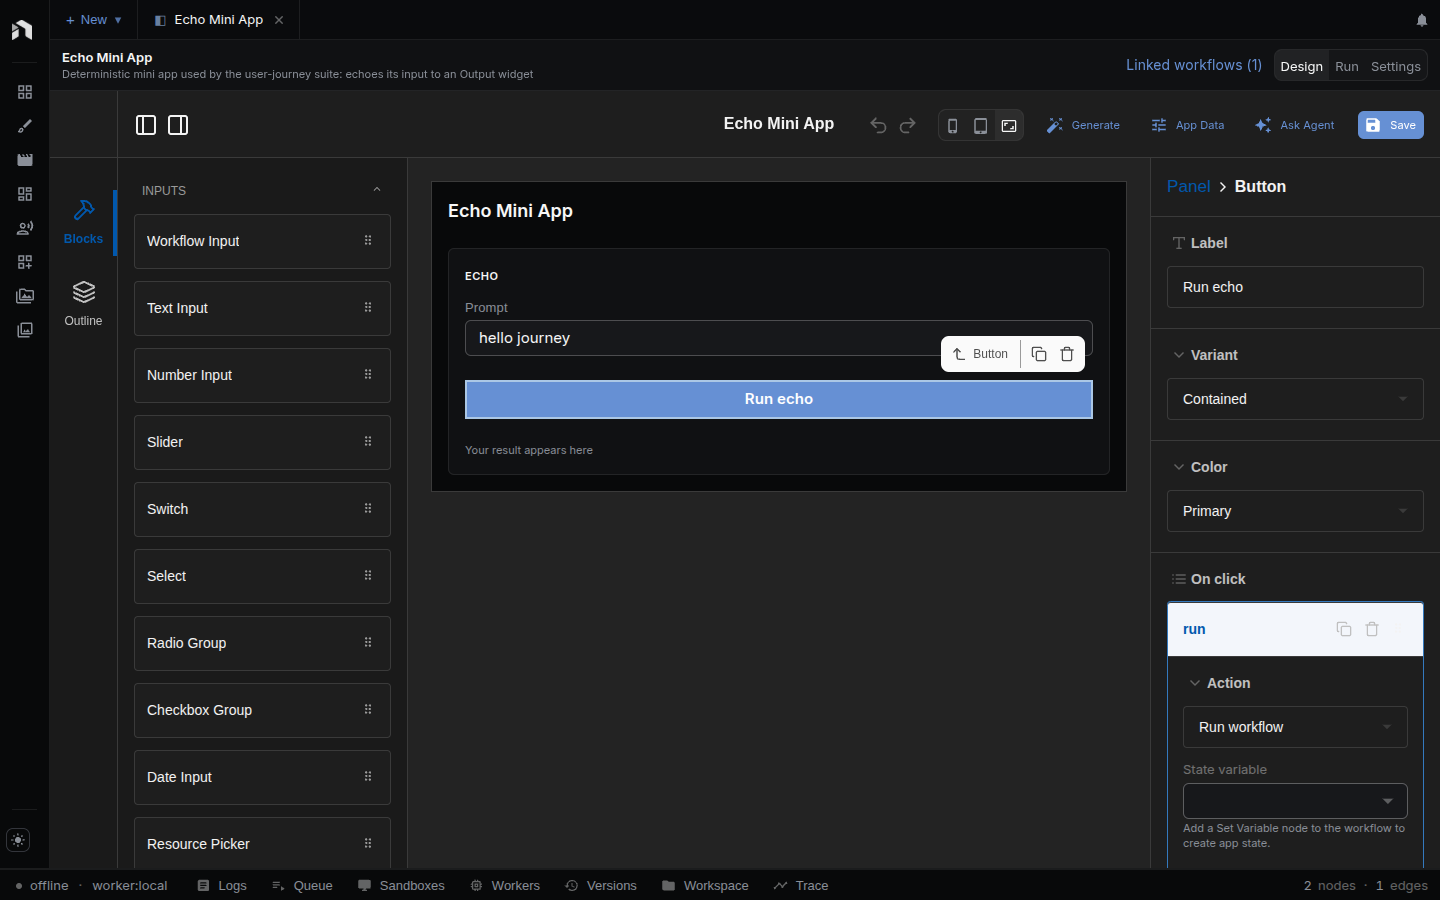
- Click Save.
-
Switch the tab to Run and try it. This is what the person using the app sees — no palette, no inspector, no graph.
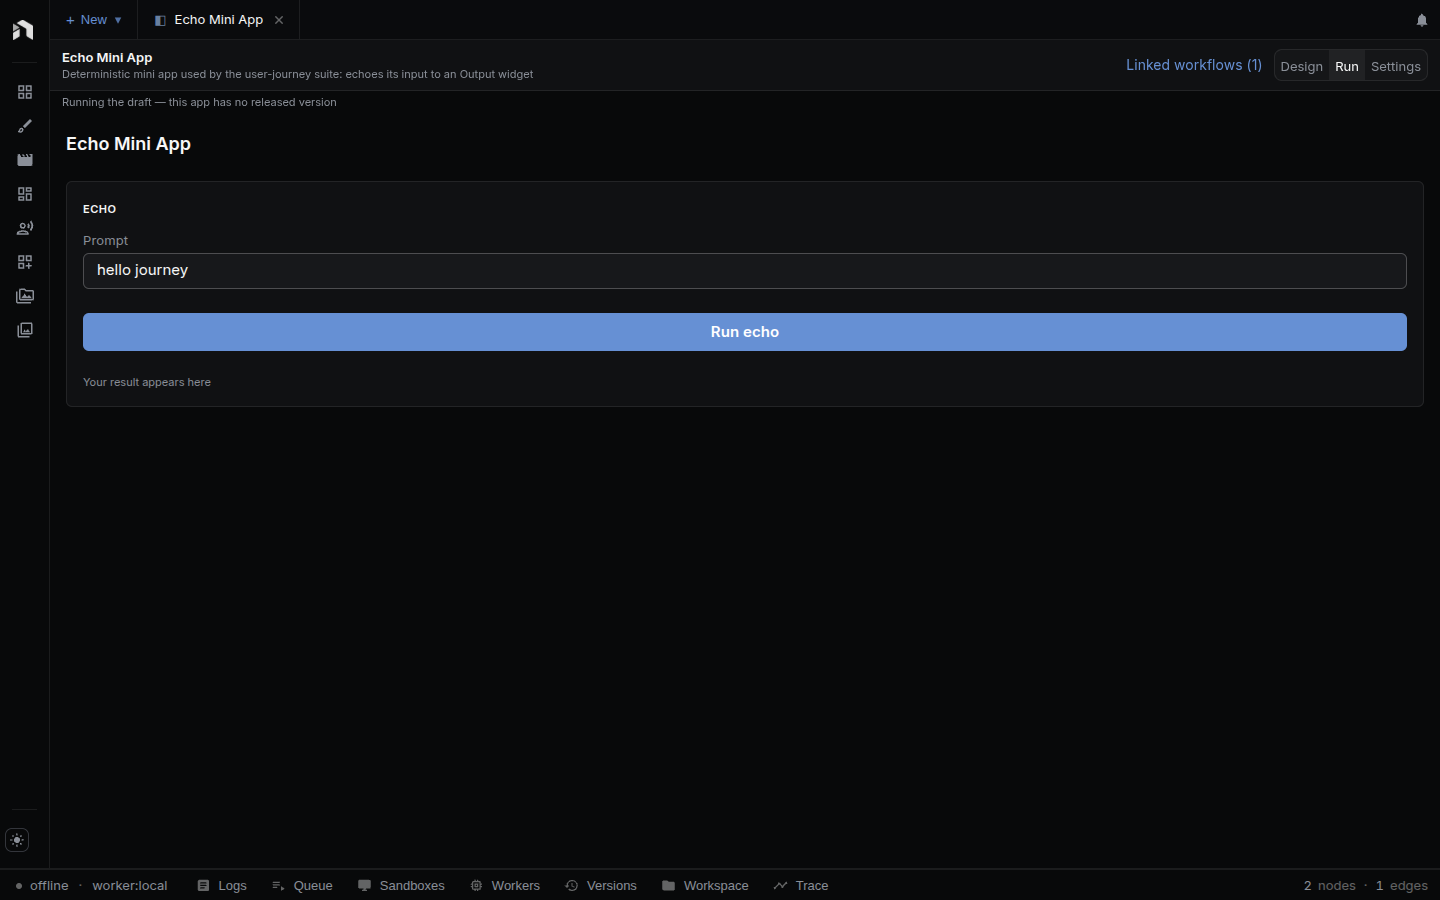
Then run
nodetool app debug <application_id>to check the wiring the way the runtime sees it.
To edit the graph while you build, open Linked workflows in the app tab’s ⋮ menu and click the workflow. It opens as a normal workflow tab; the app tab stays put.
The assistant on the right of App Builder can read the app’s workflows and edit the app for you: place widgets, wire them up, declare variables and operations, and add the Input, Output, or Set Variable nodes a layout needs. Operations, variables, and resources are also editable by hand in the App Data panel (the button in the Design header). Resource actions beyond the four in the event menu go through the assistant.
1. Fill a form, get a result
Shape: fill a few fields, click a button, see one result. Good for: image generation, rewriting copy, summarizing, translating, classifying.
This is the default app, and what most workflows should get.
- Place a Text Input for each Input node the user should fill, and wire each one to its Input node. Give it a label and a placeholder that shows what good input looks like.
- Place a Button named after the result, not the machinery: “Write the caption” beats “Run”.
- Place one display widget per Output node, wired to it: Markdown for prose, Image, Audio, Video, JSON for structured data, Table for rows, Output when the type varies.
- Give each display widget a placeholder (“Your caption appears here”) so the app looks finished before the first run.
Two layout habits worth having: put the fields and the button in one Panel and the results in another, and use Columns so fields sit left and results right on a wide screen.
2. Runs that take a while
Shape: a run lasting 30 seconds to several minutes. Good for: agents, batch jobs, video generation, research tasks.
Build recipe 1, then add signs of life. Without them the app looks frozen and the user clicks Run again.
- Place a Progress widget wired to
op:main/exec#progress. - Place a Text widget wired to
op:main/exec#activity— the line the run writes about itself: the tool an agent is calling, the planning stage, the step it’s on. For an agent, place an Agent Activity widget wired toop:main/exec#transcriptinstead. It shows the agent’s text and every tool call with its outcome while the run is live. - Set the Run button’s
disabledWhentoop:main/exec#runningis not empty, so it can’t be clicked twice. - Place a second Button with the Cancel run action, and set its
visibleWhentoop:main/exec#runningis not empty. - Place a Text widget wired to
op:main/exec#error, shown only when thatis not empty.
An agent app with no activity on screen is the single most common complaint
about Mini Apps. Add it.
3. Text that types itself out
Shape: the answer appears a few words at a time. Good for: chat-style answers, long drafts, live transcripts.
- Build recipe 1 with a Markdown widget wired to the Output node that streams.
- That’s it. The pieces are collected as they arrive, so one streamed answer renders as one block of Markdown instead of a flicker of fragments.
- If that same text feeds a later step, wire the output to a variable as well
(
to: "variable"on the operation). It builds up there the same way, and the next run starts a fresh value rather than continuing the last one.
4. A gallery of results
Shape: one run makes several results, and the user keeps generating. Good for: image variations, ad creative, thumbnail sets, name candidates.
- Point the display widget at an Output node the workflow emits more than once. The items collect into a list instead of replacing each other.
- Use Table for structured rows, or an Image widget for a stream of images.
- Add a second Button labelled “Make another”, with the Run workflow action, placed below the results. Now nobody scrolls back up to the form.
- If a new set should replace the old one, give the operation the
replacerule, so a second click cancels the run in flight first.
The example apps NodeTool ships use this pattern. Add one from Start from an app on the start page and open it in Design to see how it’s wired.
5. A slider that re-runs
Shape: drag a slider, the workflow re-runs, the result updates. Good for: image enhancement, color grading, thresholds, strength and guidance settings.
This is the one recipe that doesn’t need an Input node — a widget can drive a node’s setting directly.
- Place a Slider and wire it to the node setting rather than to an input:
op:main/prop:<nodeId>#<property>. The picker lists any node with settings, not just Input nodes. - Set min, max, and step to the setting’s real range.
- Add an On change event with the Run workflow action.
- Set the event’s Pacing to On release, so the slider fires once when the user lets go instead of once per pixel. Use Debounced for a text field, and Live only for something cheap.
- Give the operation the
replacerule: a new value should cancel the run for the old one, not line up behind it.
Pacing and the run rule work together. Live pacing plus a queue rule on a
five-second workflow builds a backlog the user can’t escape.
6. Approve, then continue
Shape: run a step, look at the result, then run the next one. Good for: draft then publish, extract then post, analyze then act, generate then upscale.
This needs two operations and two variables. Declare them in the App Data panel or ask the assistant.
- Declare a text variable called
draftand a text variable calleddecision. - Declare an operation
draftrunning the drafting workflow, with its text output wired intodraft(to: "variable"). - Declare an operation
publishrunning the publishing workflow, with its input readingdraft(from: "variable"). - Place a Markdown widget wired to
var:draft, so the user reads what’s about to be published. - Add an Approval widget bound to
var:decision. It writesapprovedorrejectedwhen the person picks one. Do not use the draft’s non-empty value itself as approval. - Place a Run button for
draftwith two click events: Run workflow fordraft, and Set variable ondecisionwith an empty value, so every new draft starts unapproved. - Place a Run button for
publish. Set itsvisibleWhentovar:decisionequalsapproved, and itsdisabledWhentoop:draft/exec#runningis not empty.
The draft output is cleared when its source run starts and after a failed or
cancelled run, so a partial or stale result is never shown as the draft. A
condition holds one test against one value, so the gate is the single decision
variable. The publishing workflow should still validate that its input is the
approved artifact before performing an irreversible action.
7. Settings that stick
Shape: a tool used every day that should remember how it’s set up. Good for: tone of voice, target language, output format, default model.
- In App Data, declare a variable with scope Per user and Remember
between visits on (
scope: "user",persist: true). Only user-scoped variables can be remembered; marking an instance-scoped one as persistent raises a warning instead of quietly working. - Give it a default, which seeds the first session. A remembered value is loaded first and beats the default.
- Wire a Select or Switch to
var:<id>, with an On change event using the Set variable action. - Have the operation input that uses it read
from: "variable".
The setting now survives a reload and drops out of the form the user fills in each run.
8. One app, several modes
Shape: one app with modes, each showing only what its mode needs. Good for: a tool that takes either an image or text, a form with an advanced section, an app that switches between two workflows.
- Place a Select wired to a variable — call it
mode— with optionsimageandtext, and an On change event using the Set variable action. - Give each mode-specific widget a
visibleWhenofvar:modeequalsimage(ortext). - For an advanced section, put the widgets in an Accordion that starts closed, or in Tabs. Layout widgets take no condition, so a condition has to go on each widget it should hide.
- To switch workflows rather than fields, declare two operations and give each Run button its own operation and its own condition.
A condition compares one value against one fixed value. Anything more involved — “show this when the score is high and the language is German” — belongs in the graph: emit one flag from a node and condition on that.
9. Apps that edit a document
Shape: the app reads and writes a real document rather than loose values. Good for: storyboard editing, sketch iteration, curated asset collections.
- Declare a resource in App Data: its kind (
asset,timeline,storyboard, orsketch) and what it may point at (all documents of that kind, or one fixed document). A resource added there allowsread. Ask the assistant to grantcreate,update, ordelete. - Place a Resource Picker to choose one, or a Resource Gallery to show a grid of them.
- Have the operation input that uses it read
from: "resource", naming that resource. - Storyboard Scenes edits the document directly, so it fires no event of its own.
nodetool app debug does not read the browser’s resource library. Seed a
deterministic collection with a seedResource interaction or a
resource:<binding-id> parameter to exercise resource inputs headlessly. Test
picker rendering, focus, and real document writes in the app.
10. A chat app
Shape: a conversation the user adds to, one workflow run per turn. Good for: assistants, Q&A over a collection, anything where the previous turns matter.
- Build the workflow with a Message List Input (the whole conversation) or a String Input (just the latest message), an LLM node, and an Output node.
- Declare a variable — call it
chat— to hold the conversation. - Place a Chat Thread: bind it to
var:chat, and set Live reply to the Output node so the answer appears as it streams. - Place a Chat Composer below it: bind it to the workflow input, set
Conversation variable to
chat, and pick what it sends — Whole conversation for a Message List Input, Message text for a String Input. Its On click event runs the operation. - Add a Model Select bound to the LLM node’s
modelproperty to let the user choose the model.
Turn on image attachments in the composer when the model is multimodal — the message then carries content parts instead of plain text, which is what a Message Input node and every provider expect.
11. An app that shows a sketch or a timeline
Shape: a run that produces an editor document, previewed in the app. Good for: generated artwork you want to see composited, a cut assembled from a script, anything where the result is a document rather than a file.
- Build the workflow so it ends at an Output node fed by a node that emits a
sketch (
nodetool.sketch.CreateSketch,nodetool.constant.Sketch) or a timeline (nodetool.timeline.AddClips,nodetool.script.ScriptToTimeline). - Place a Sketch or Timeline widget and bind it to that Output node.
- Set a max height so a tall canvas or a long sequence doesn’t push the rest of the app off screen.
These nodes emit a reference — {type: "sketch", id} — not an image or a video
file, so the media widgets show nothing when bound to them. If you also want the
flat result, add a RenderSketch or RenderTimeline node and bind an Image
or Video widget to its output; the two can sit side by side.
Before you share it
- Every input widget is wired to something real.
nodetool app debug --no-runnames the ones that aren’t. - Every display widget actually receives a value from a finished run.
- The app has at least one way to start a run.
- Runs longer than a few seconds show progress, activity, or both.
- The Run button is disabled while a run is in flight.
- Errors are visible on screen, not swallowed.
- Inputs have defaults, so the first run is one click.
- Display widgets have placeholders, so the empty app looks finished.
- Buttons are named after results, not mechanisms.
When something’s wrong
| What you see | What’s usually causing it |
|---|---|
| A widget stays empty after a run | It’s wired to a node the run never emits, or to an Output node the graph doesn’t have. |
| A widget does nothing at all | Its wiring points at nothing. Run app debug --no-run. |
| Values from another run show up | Can’t happen by design — messages are matched by job id and foreign ones are dropped. If the values look wrong, the widget is wired to the wrong node. |
| The slider fires dozens of runs | Pacing is set to live. Use on-release. |
| Runs pile up behind each other | The operation’s rule is queue. Use replace. |
| A remembered setting resets | The variable is instance-scoped. Only user-scoped ones are remembered. |
| The app broke after a graph edit | An old name-based wiring pointed at a renamed node. Re-select it; the editor writes id-based wiring, which survives renames. |
Related
- Mini Apps — the concepts and how the runtime works
- Mini App Reference — widgets, bindings, schema
- App Builder — the editor
- Templates Gallery — example apps and workflows
- Workflow Debugging — debugging the graph underneath