
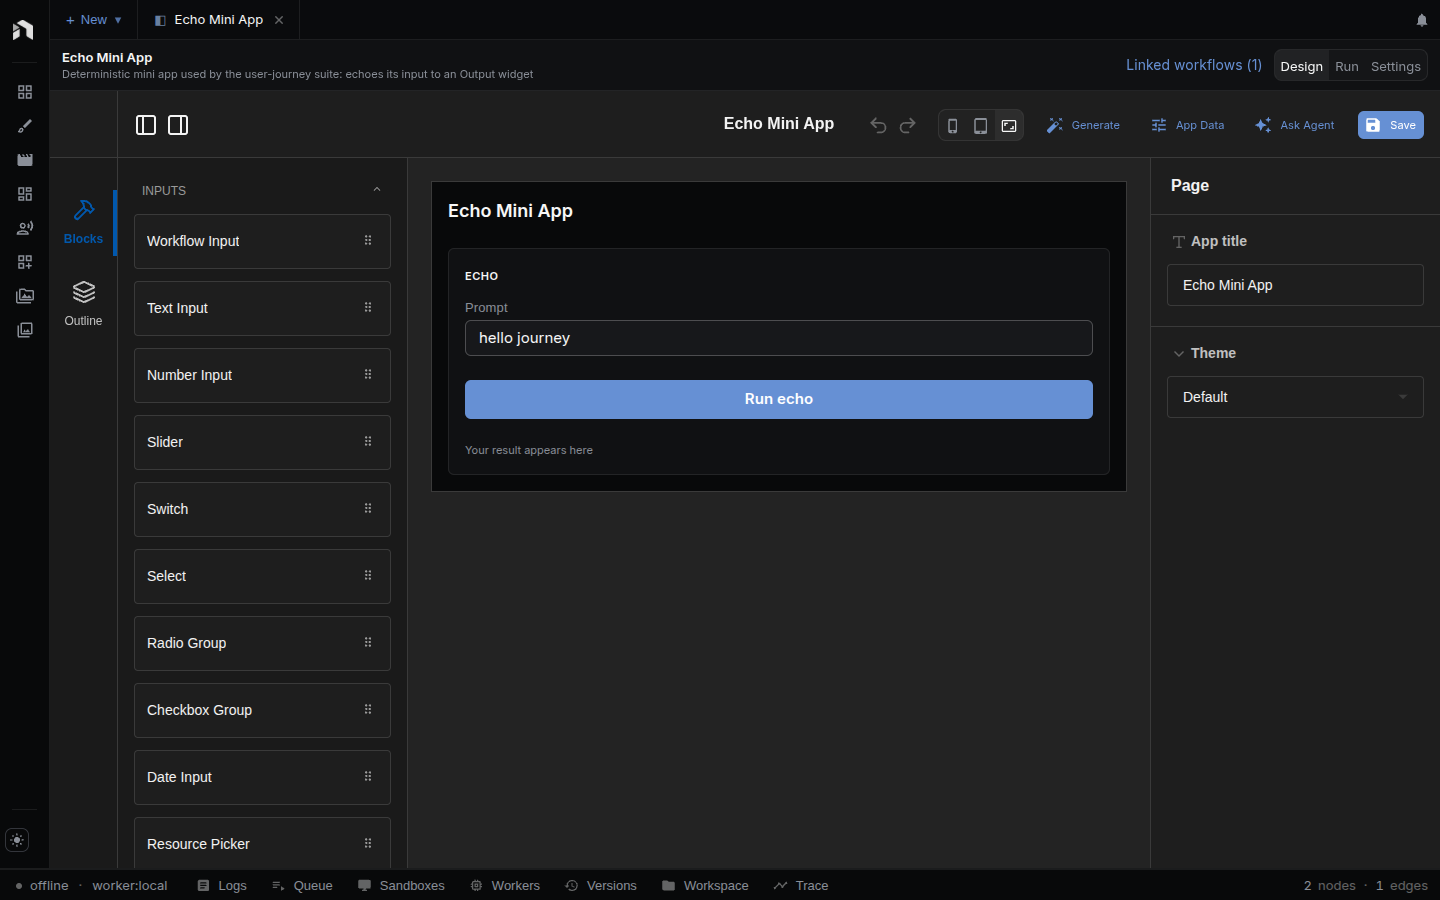
App Builder is the Design view of an app tab. You drag widgets onto a canvas, wire them to the inputs and outputs of the workflows the app runs, and save.
This page covers the editor itself. For what Mini Apps are and how they run, see Mini Apps; for step-by-step recipes, see Building Mini Apps; for every widget and setting, see the Reference.
What it does
- Lays out the app screen: boxes, fields, buttons, and result displays.
- Wires widgets to the Input and Output nodes of the workflows the app runs.
- Runs a workflow from a button, or when a field changes.
- Shows results as they stream in.
- Declares operations, variables, and resources in the App Data panel.
- Previews the screen at phone, tablet, or full width.
- Publishes a version that locks in the current state of every workflow it runs.
Where it fits
A Mini App is how your work reaches people who shouldn’t have to read a node graph. App Builder wraps one or more workflows in a screen: fields feed the workflow’s inputs, buttons start runs, and result widgets show what comes back.
See Key Concepts → How everything fits together.
Open it
- Open the Apps panel in the left sidebar.
- Click an app, or create one with New app or Create app from workflow.
- On the app tab, switch to Design.
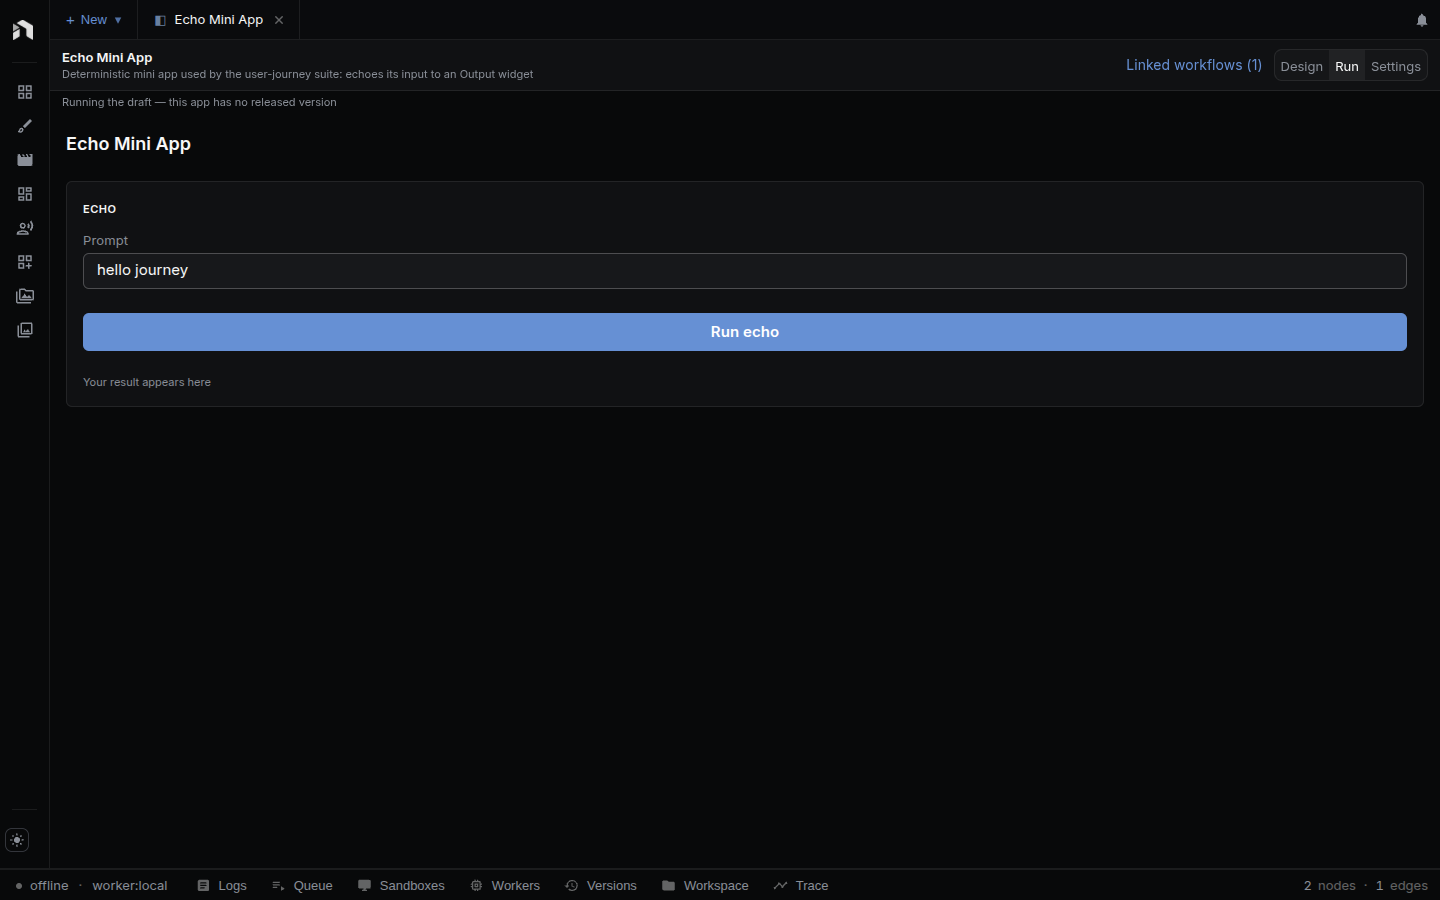
Run shows the app the way its users see it, using the released version when there is one. Preview draft runs the unpublished draft instead. Settings holds publishing, versions, the spend budget, the public link, and recent runs. Rename an app from the right-click menu in the Apps panel.
Build an app
- Check that each workflow has the Input and Output nodes the app needs. Open one from the Linked workflows menu; it opens as its own workflow tab.
- Add fields: Text Input, Number Input, Slider, Switch, Select, or a Workflow Form that renders every input of an operation at once. The palette groups widgets as Inputs, Chat & AI, Actions, Display, and Layout.
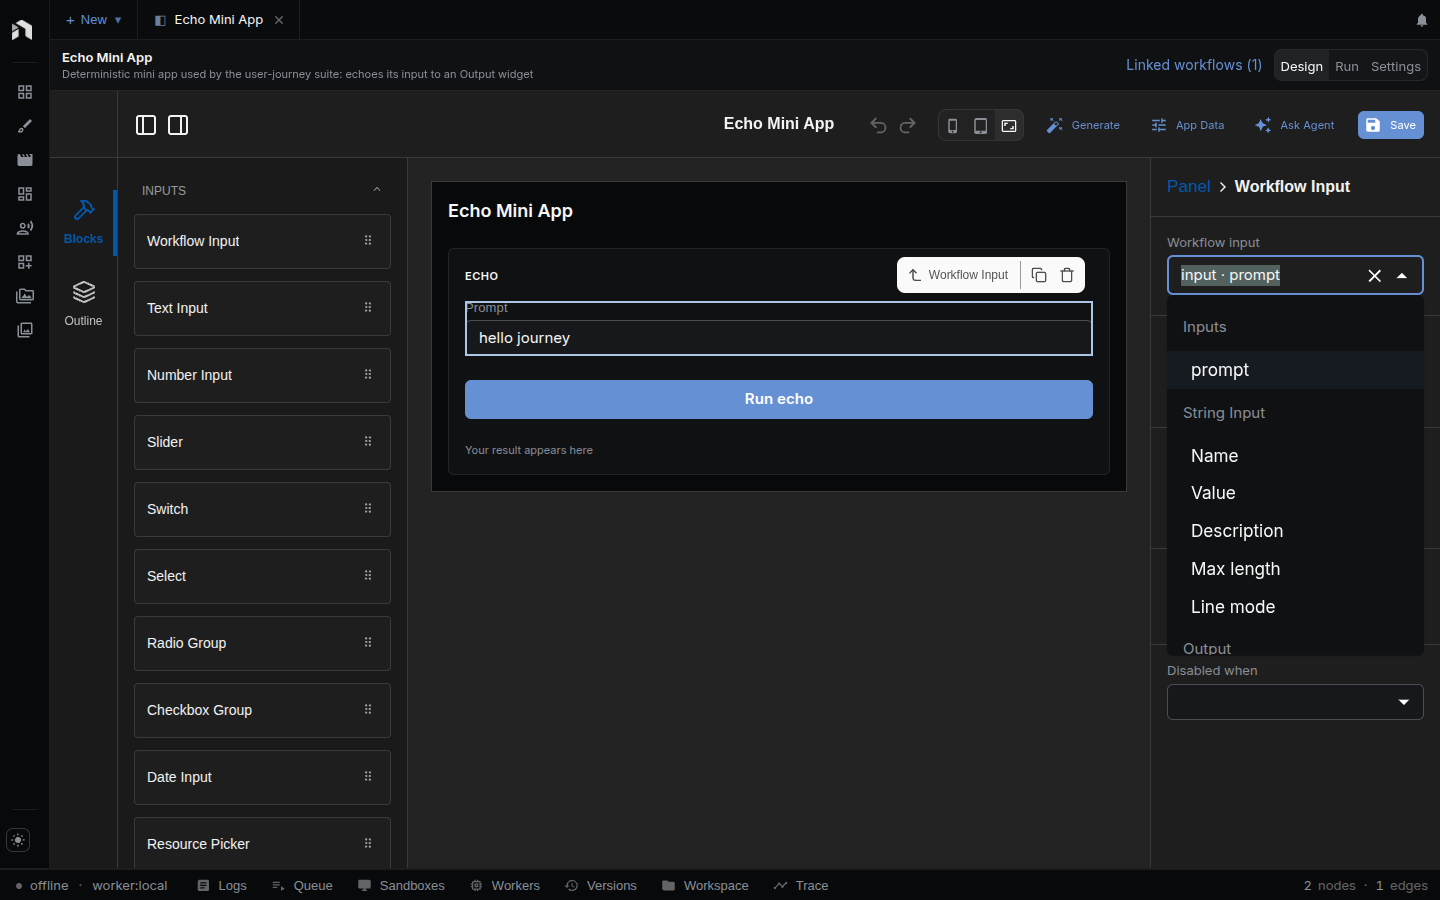
- Wire each field to the matching Input node.
-
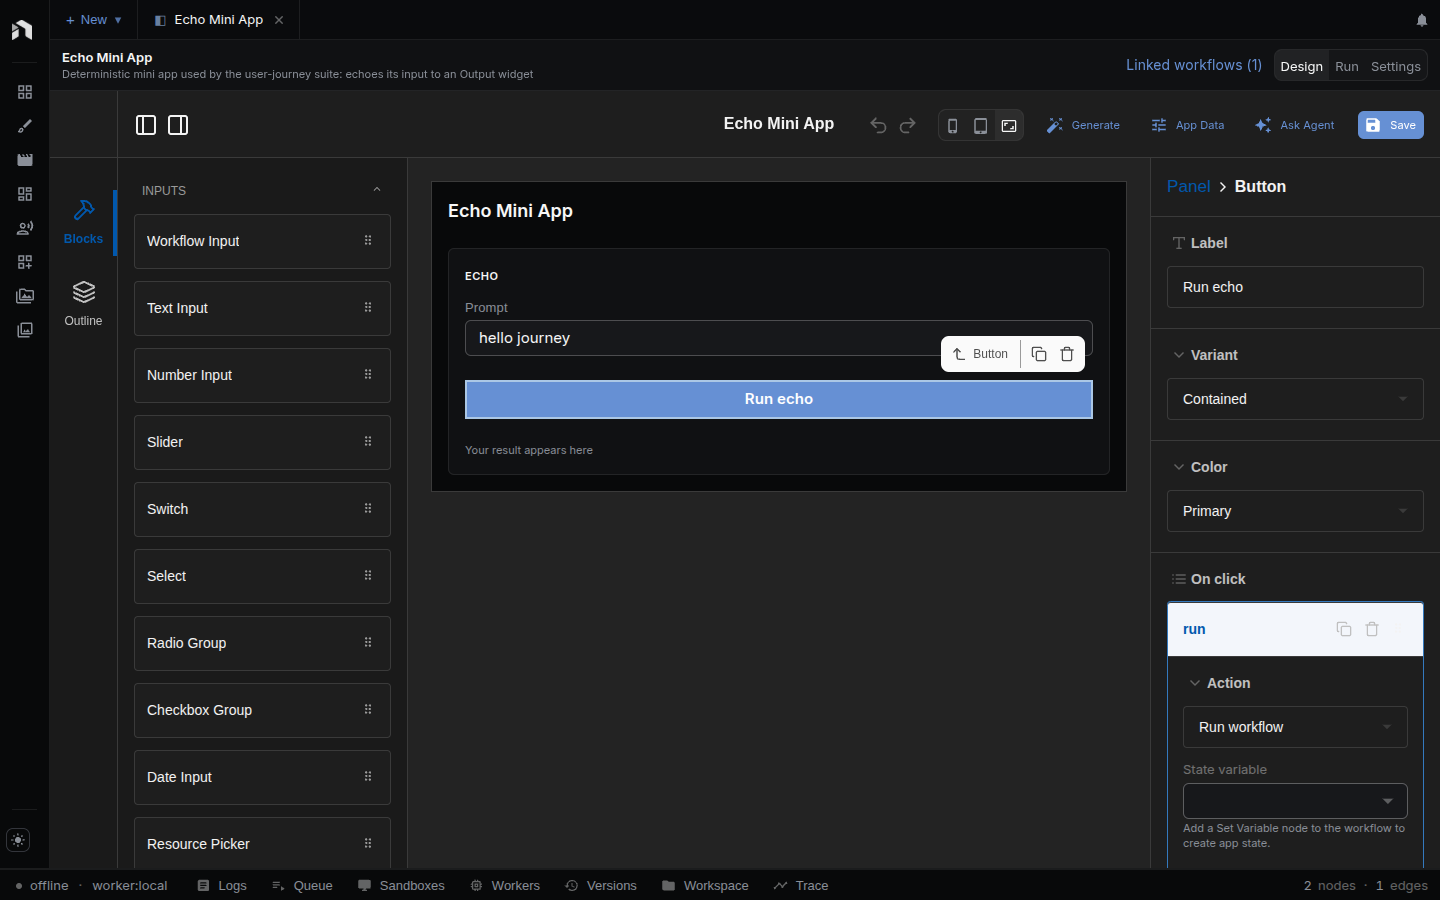
Add a Button with the Run workflow action, pointing at the workflow to run.
- Add result widgets: Text, Markdown, Image, JSON, Progress.
- Wire each result widget to the matching Output node.
- Click Save. The header also has App Data, Back, and the phone, tablet, and fit-width preview toggle. The root settings hold the app title and a Theme (Default, Centered, or Card).
Letting the agent do it
The assistant sits on the right of Design, Run, and Settings. It can read the
app’s workflows, add widgets, wire them up, declare operations and variables,
and even edit a graph when the app needs new Input, Output, or Variable nodes.
It can also check its work with the same wiring check as nodetool app debug,
including unsaved edits, and run the app once to read the verdict.
Good prompts describe the result you want:
Build a compact app with all inputs on the left, a run button below them, and outputs on the right.
App Data
App Data in the Design header opens a panel with three lists. The assistant edits the same lists.
- Operations. Each has a name, a Runs choice of Workflow or JS script, the workflow or script to run, While one is running (Replace running, Queue behind, or Run in parallel), and Timeout (ms).
- Variables. Each has a name, a type (Any, Text, Number, Integer, True/false, List, or Record), a default, a scope (This session or Per user), and Remember between visits. Only per-user variables can be remembered.
- Resources. Each has a name, a kind (Asset, Timeline, Storyboard, or Sketch), and either one fixed document or all documents of that kind.
Wiring
The picker lists what each workflow actually offers. Wiring points at node ids, so renaming a node doesn’t break the app.
| Widget kind | Wires to |
|---|---|
| Fields the user edits | A workflow input (op:<opId>/in:<nodeId>) or a node setting |
| Result displays | A workflow output (op:<opId>/out:<nodeId>) or a variable |
| Toggles and selects | A variable (var:<variableId>) |
Wiring that points at nothing is reported as an error, both in the editor and in
nodetool app debug. The full list is in the
Reference.
Several workflows in one app
Each workflow the app runs is an operation, edited under Operations. Give each one its own input and output wiring, its own rule for overlapping runs, and an optional time limit. Buttons point at an operation by name, so a two-step app is two operations and two buttons — not two apps.
Publish and share
Publish new version in Settings saves the draft, then takes a snapshot of the screen and of every workflow the app runs. The snapshot becomes the released version, so the published app keeps working while you keep editing the drafts. Settings also rolls back to an older version, sets the spend budget, and creates a public link on servers that offer it. See Publishing and sharing.
The editor has no export button. Move an app and its workflows as one JSON file
with nodetool apps export-bundle and nodetool apps import-bundle
(CLI).
Related topics
- Mini Apps — concepts and runtime
- Building Mini Apps — recipes per use case
- Mini App Reference — widgets, bindings, schema
- Workflow Editor
- Chat & Agents