
Quick Start runs a finished template. This page builds a workflow yourself, one node at a time. You start with an empty canvas and end with a picture generated from one short idea.
The workflow has four nodes:
| Node | Does |
|---|---|
| String Input | Holds your idea as text |
| Agent | Rewrites the idea as a detailed image prompt |
| Text To Image | Generates the picture |
| Preview | Shows the picture on the canvas |
Data flows left to right: String Input → Agent → Text To Image → Preview.
Before you start
You need a language model for the Agent and an image model for Text To Image. Both come from providers you connect in Settings → Models & Providers, as described in Quick Start. Text To Image defaults to FLUX.1 Schnell on FAL, so a FAL key is the fastest way to get an image model. The capability matrix lists other providers.
The image costs money at the provider’s rate. The Agent call is text and costs cents.
1. Create an empty workflow
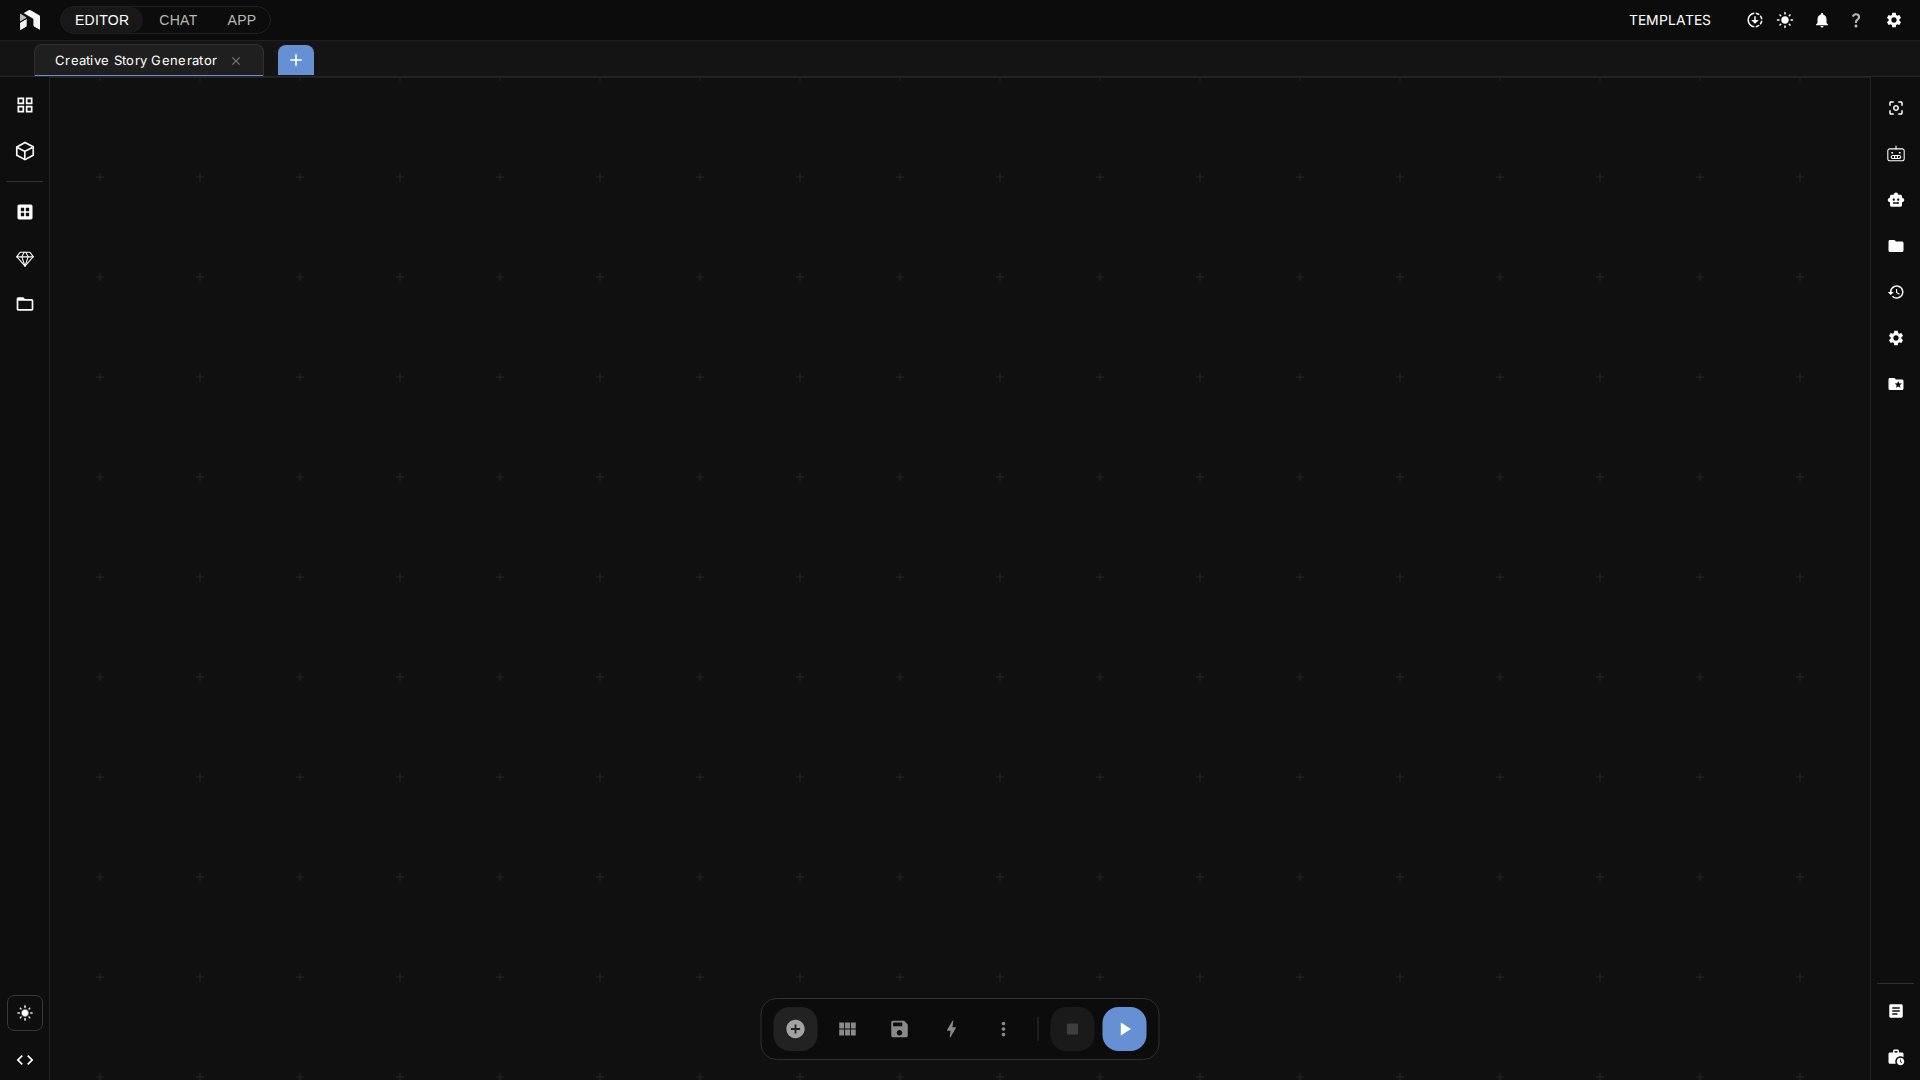
Use + New → New workflow. A workflow tab opens with an empty canvas. You
can also press Ctrl/⌘ + K and pick New Workflow from the Command Menu.
2. Add the String Input node
- Press
Spaceon the canvas, or double-click empty space. The node menu opens. - Type
string inputin Search for nodes…. - Click String Input. The node appears on the canvas.
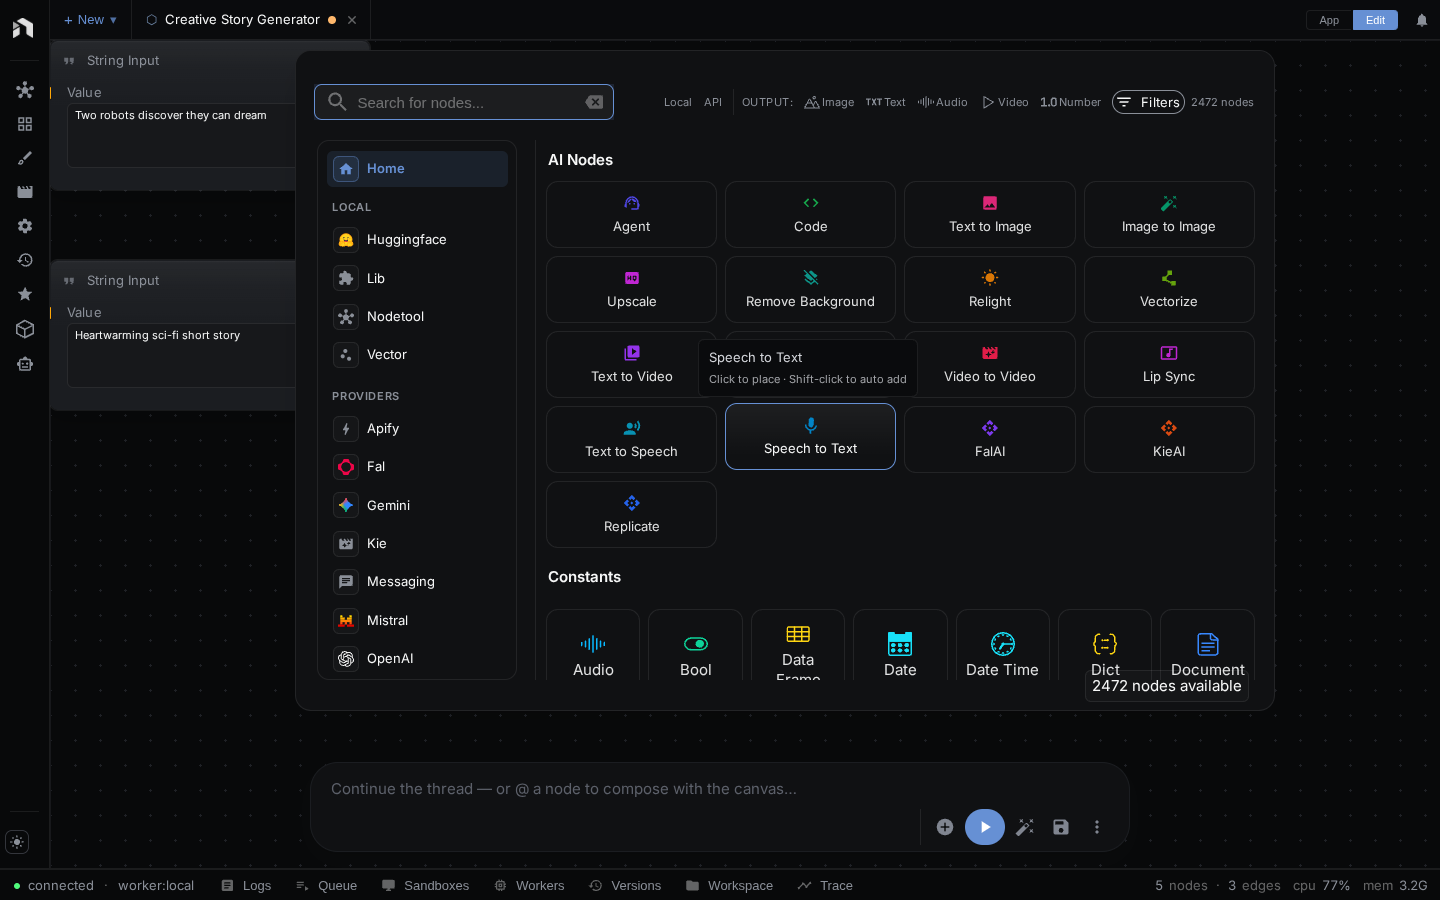
Type your idea into the node’s Value field, for example:
a lighthouse on a cliff at dusk
The node’s Name property labels this value when the workflow runs as an app or over the API. Leave it empty for now.
3. Add the Agent node
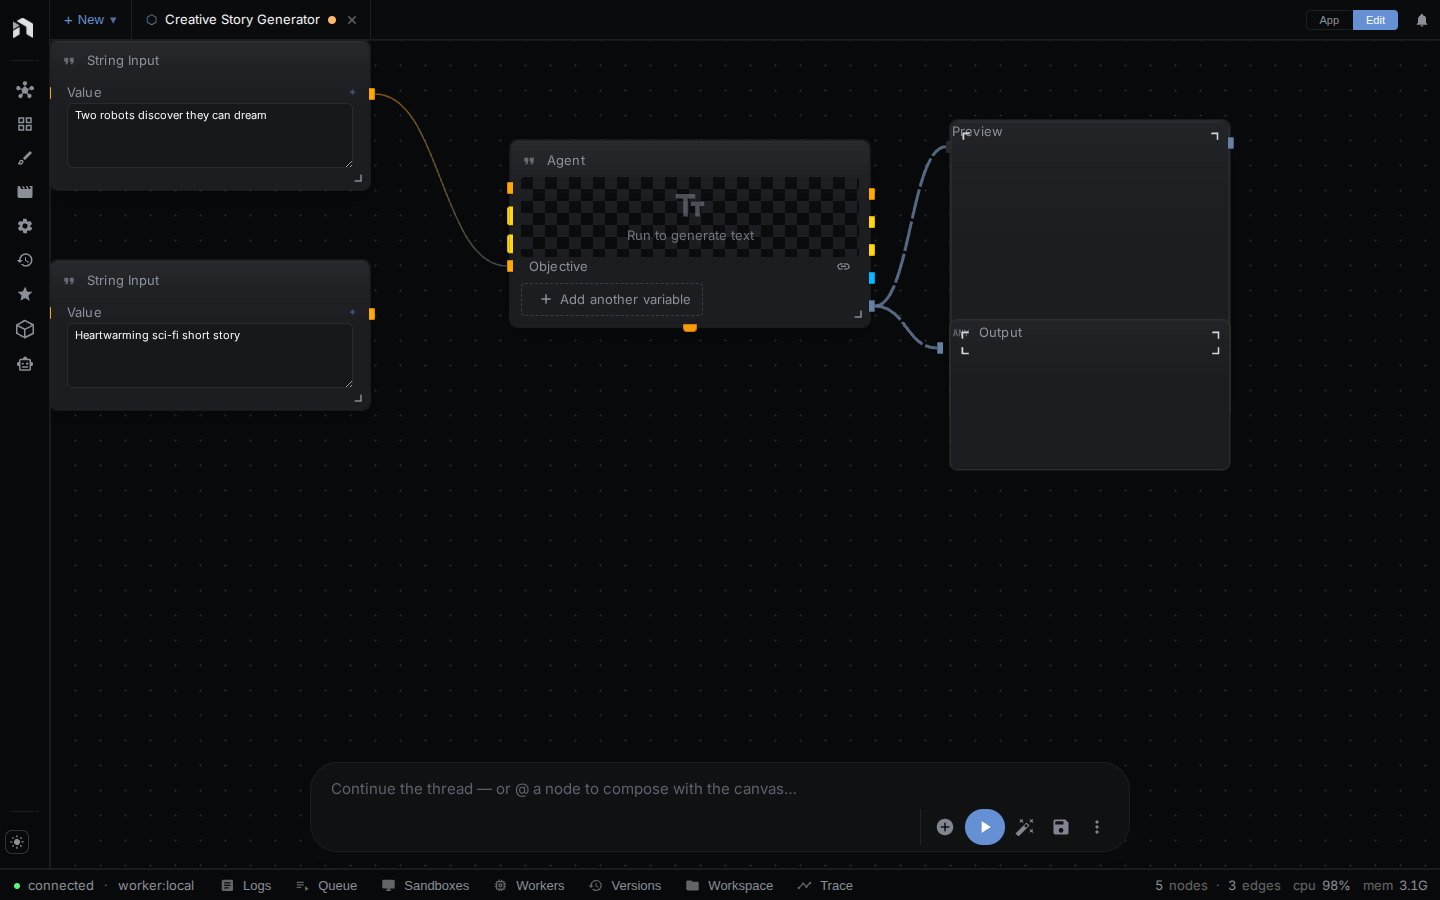
Press Space, search for agent, and click Agent. Drag it to the right of
String Input.
Select the node. The Inspector opens on the right with three tabs: Params, I/O, and Help.
On the Params tab:
- Press Select Model and choose a language model.
- Replace System (it starts as “You are a friendly assistant”) with
instructions for this job, for example:
Rewrite the user's idea as one
detailed image prompt. Describe subject, light, and style. Reply with the
prompt only.
Leave Prompt alone. You fill it by connecting a node in the next step.
4. Connect String Input to Agent
- Drag from the output circle on the right of String Input.
- Release on the Prompt input circle on the left of Agent.
A line appears. Connections only accept matching types, so text goes to text. Each input takes one connection. The I/O tab in the Inspector lists the node’s inputs and outputs.
5. Add the Text To Image node
Press Space, search for text to image, and click Text To Image. Place it
to the right of Agent.
In the Inspector’s Params tab you can set:
| Property | Default | Use |
|---|---|---|
| Model | FLUX.1 Schnell (FAL) | The image model |
| Prompt | A cat holding a sign that says hello world | Replaced by the connection below |
| Negative Prompt | empty | What to avoid in the image |
| Aspect Ratio | 1:1 | Shape of the image |
| Resolution | 1K | Short edge of the image |
Connect Agent’s text output to Text To Image’s Prompt input. The Agent’s written prompt now replaces the default prompt.
6. Add a Preview node
You can add Preview from the node menu, but a shortcut is faster:
- Drag from Text To Image’s output circle and release on empty space.
- In the connection menu that appears, pick Preview.
NodeTool adds a Preview node already connected to the image. Preview has one input, Value, and shows whatever reaches it. Text To Image also shows its own result inside its node, and Preview gives you a separate, larger place to look at it.
You can send the Agent’s text output to a second Preview node the same way. Then you see the written prompt next to the picture.
7. Save and run
Press Ctrl/⌘ + S to save. Then click Run entire workflow in the bottom
toolbar, or press Ctrl/⌘ + Enter.

If a model is not selected, NodeTool stops the run and marks the unset model field in the Inspector. Pick a model and run again.
While it runs:
- A moving colored ring marks the node that is working.
- The Agent writes its text as it arrives.
- The run control reads Starting, Queued, or Running.
- Completed in badges show how long each node took.
When the run finishes, the picture appears in Text To Image and in Preview. Generated images are saved as assets automatically.
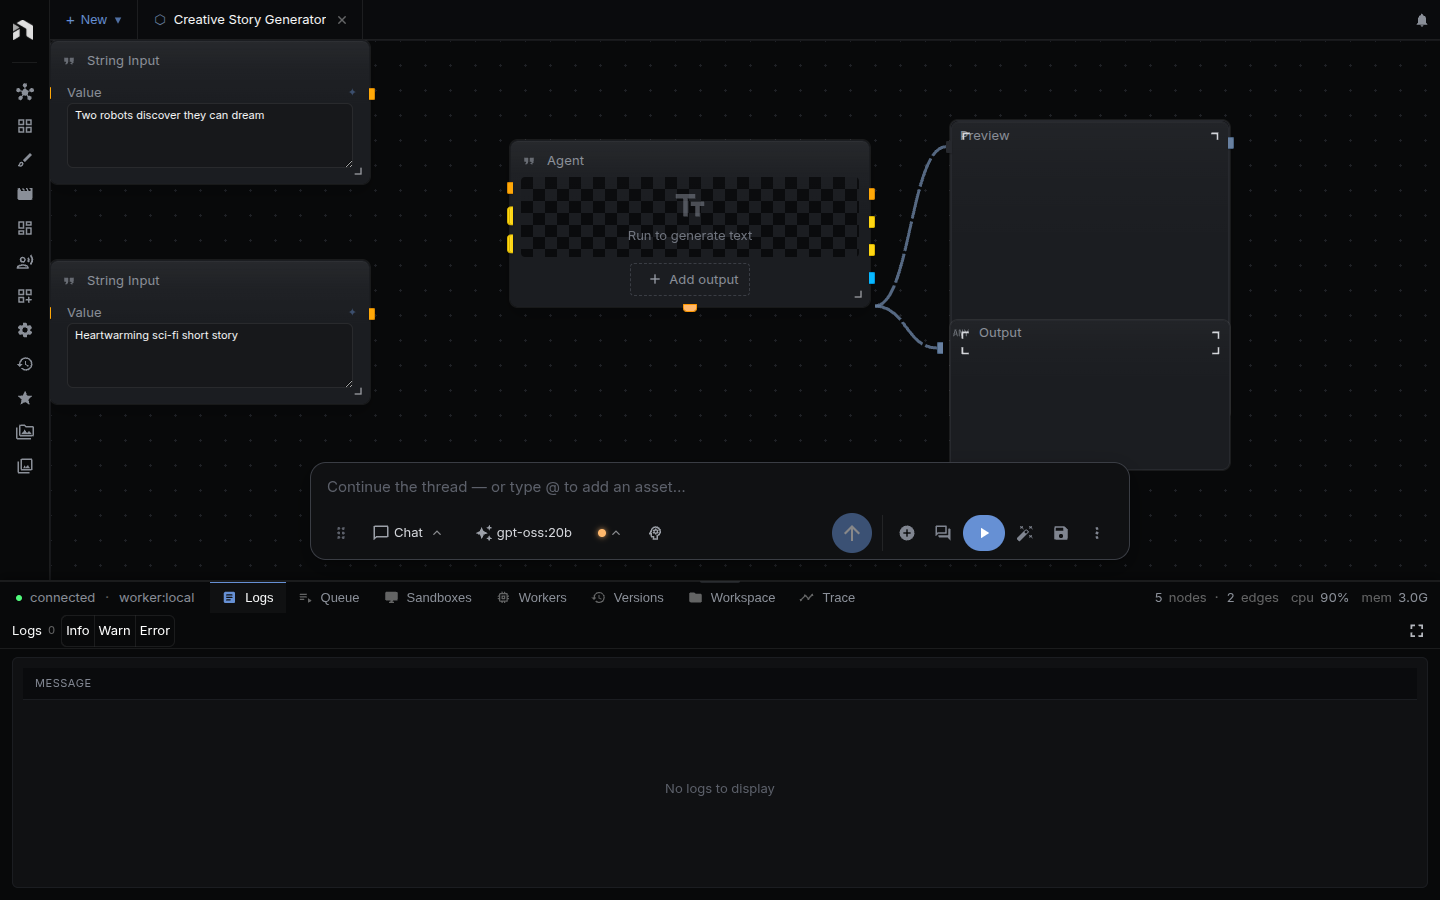
If a node fails, open the bottom panel. Logs shows the error and Queue shows the jobs. See Workflow Debugging and Troubleshooting.
8. Change something and run again
Edit the Value in String Input and press Run entire workflow again. Only the idea changed, so the Agent writes a new prompt and the image updates.
Other changes to try:
- Pick a different Aspect Ratio on Text To Image.
- Fill Negative Prompt to exclude things from the image.
- Change the Agent’s System text to ask for a specific art style.
- Select a node and press
Bto disable it. A disabled node and its connections are left out of the run.
Under the Inspector, Cost estimate prices the workflow for one run.
Next
| Want to | Go to |
|---|---|
| Learn the canvas: selecting, grouping, shortcuts | Workflow Editor |
| Learn each panel | Editor Panels |
| Find a shipped starting point | Templates Gallery and Workflow Examples |
| Turn this workflow into a screen others can run | Mini Apps |
| Understand workflows, assets, and nodes | Key Concepts |
| Choose or run models locally | Models & Providers |
| Watch short video guides | Tutorials |