Tour of the interface — Dashboard, Canvas, Chat, Mini-Apps, Assets. Same on desktop and in the browser.
New here? Start with Getting Started, then come back.
Main Views
The primary destinations across the web app and desktop. Each entry links to its detailed docs page.
Dashboard — /dashboard
The home screen. Search, recent workflows, templates, and quick chat.
Docs: Getting Started
Workflow Editor — /workspace
The main visual editor. Build workflows by connecting nodes on an infinite canvas, with panels on every edge: left drawer, right inspector, bottom diagnostics, floating toolbar, node menu, and tabs. (The legacy /editor/:workflow URL redirects into this unified /workspace shell.)
Docs: Workflow Editor · Editor Panels
Chain Editor — /chain/:workflowId?
A linear, card-based alternative to the node graph. Better for simple pipelines and guided authoring.
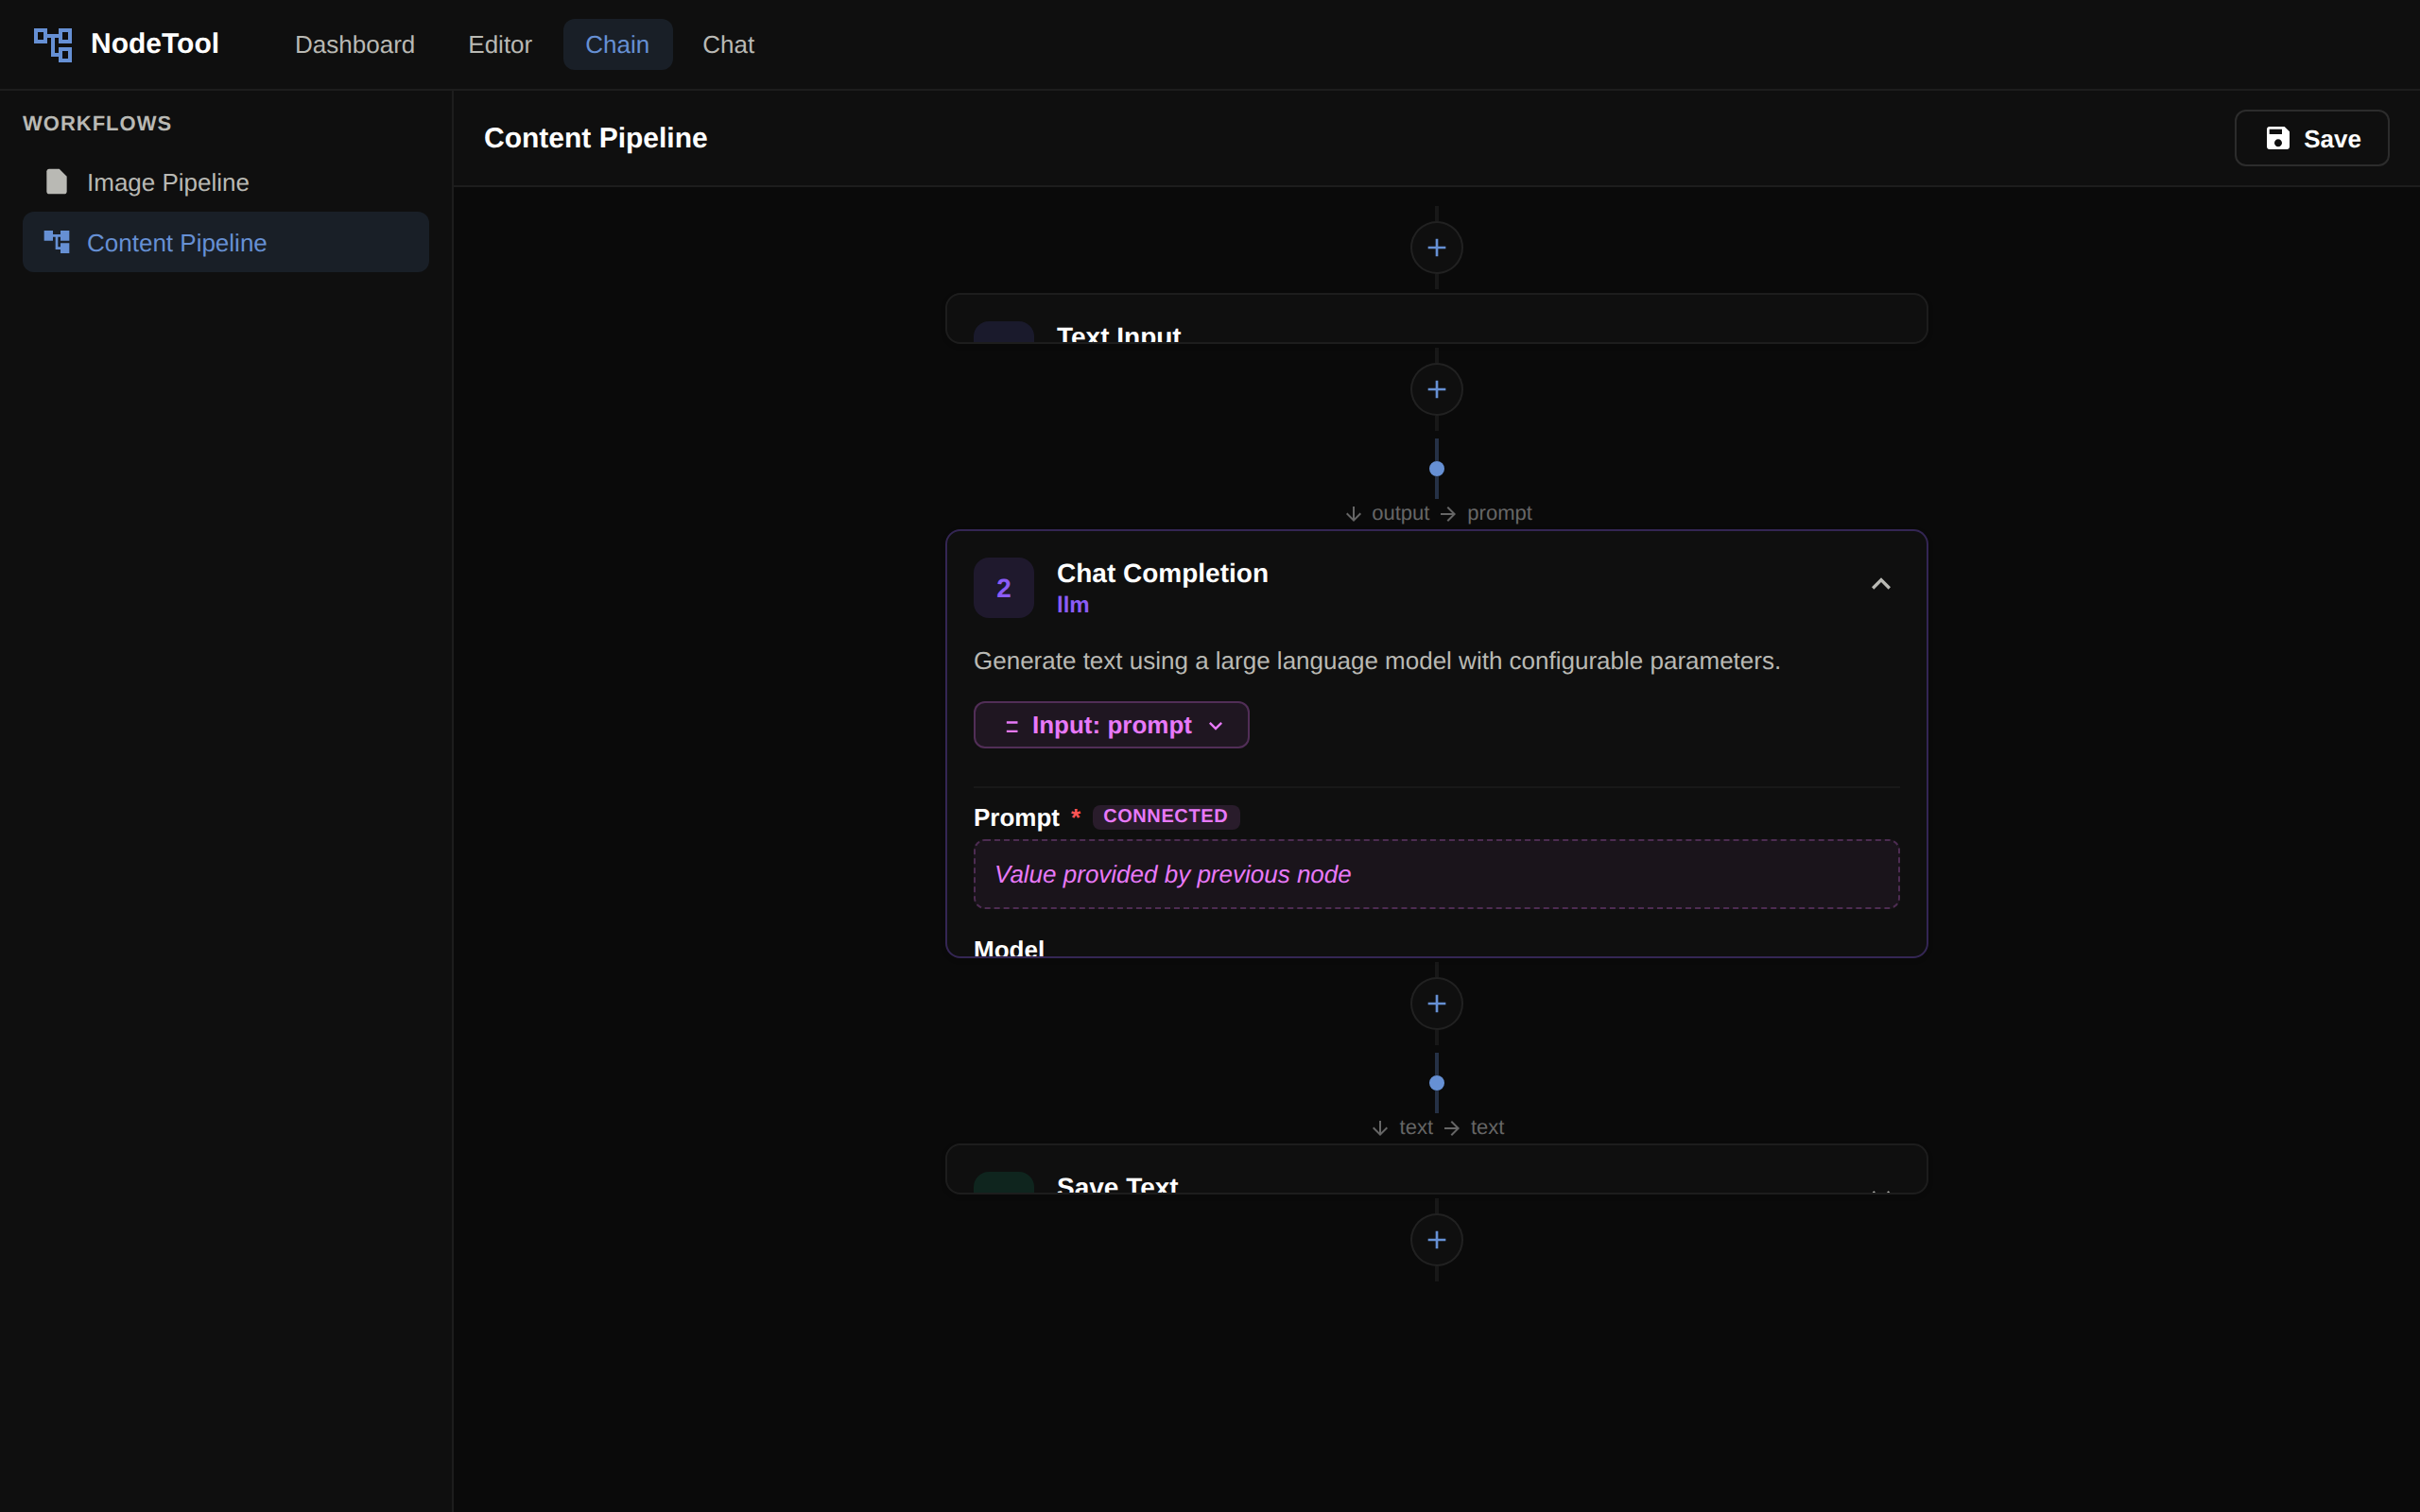
Docs: Chain Editor
Chat — /chat/:thread_id?
Conversational AI with multi-thread history, an always-on agent loop, tools, and workflow integration.
Docs: Chat
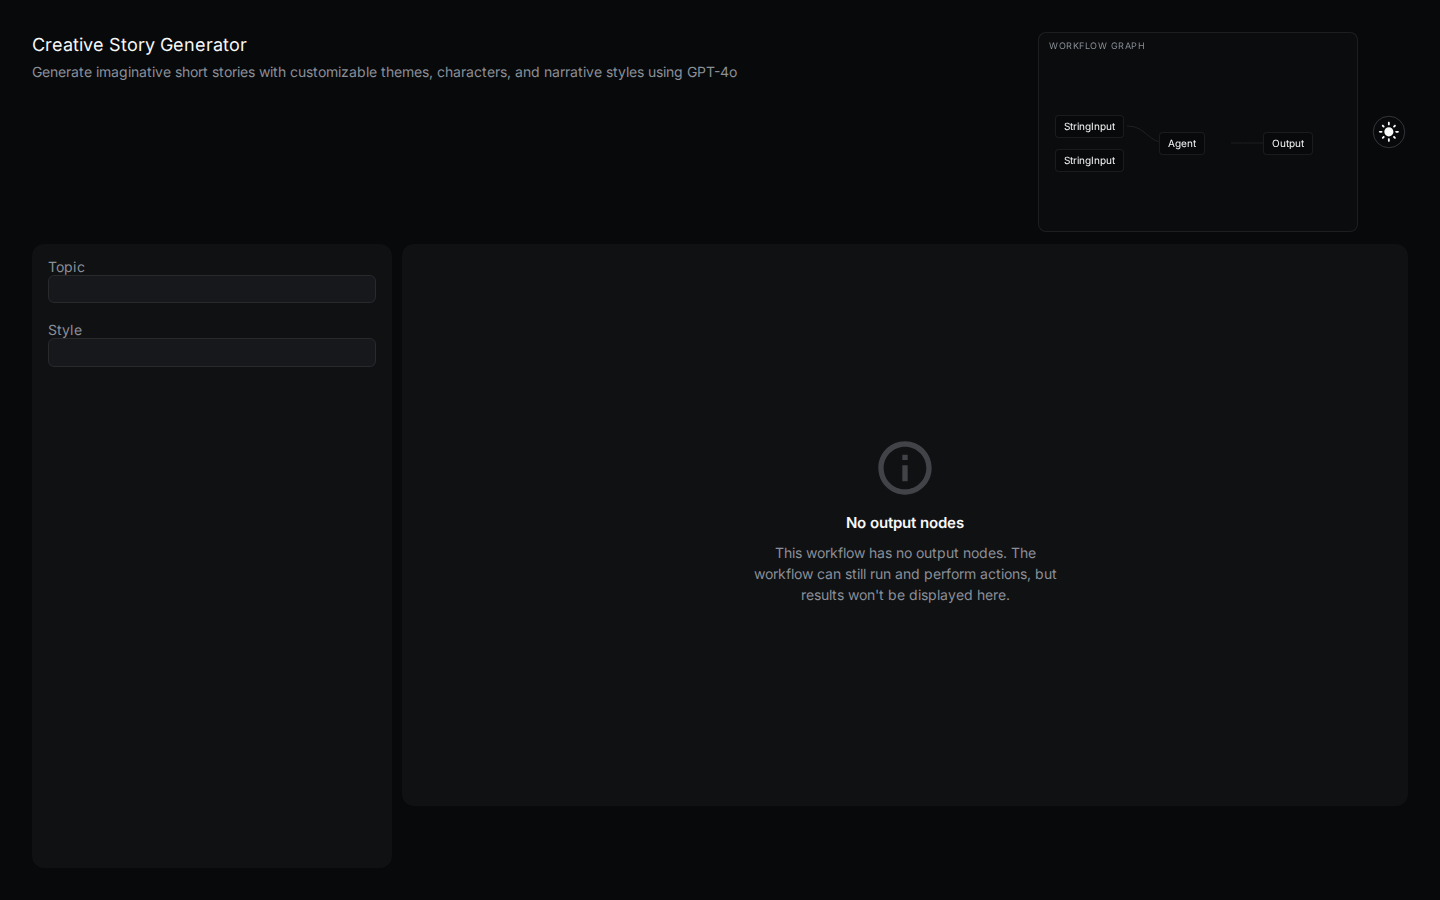
Mini-Apps — /apps/:workflowId?
Run saved workflows through simplified form UIs. Mini-apps can also be launched as standalone frameless windows from the desktop tray.
Docs: Mini-Apps · Electron Mini-App Window
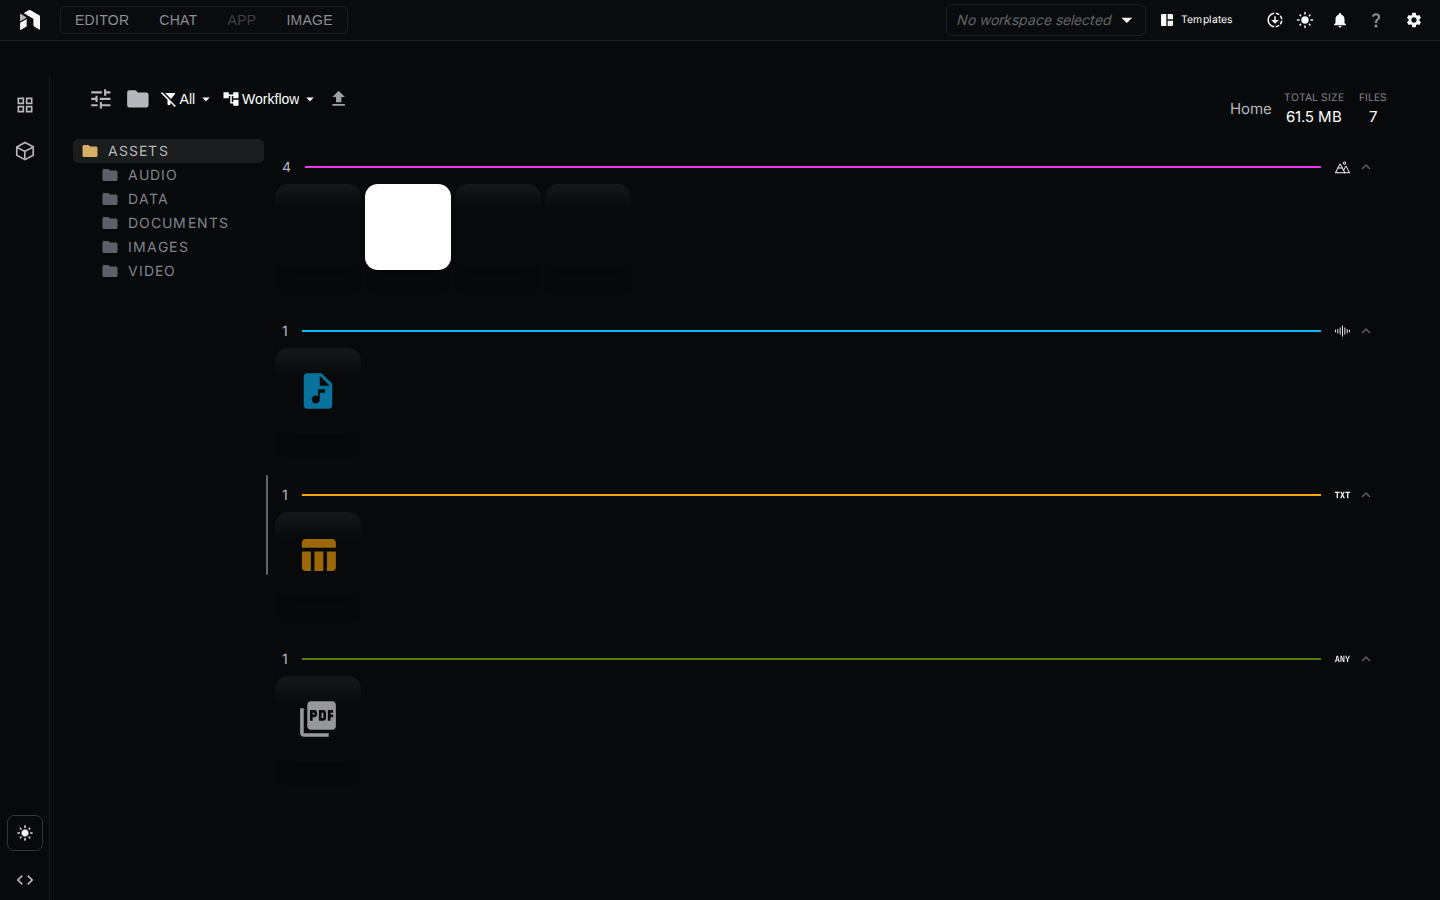
Asset Explorer — /assets
Browse, search, organize, and tag every file used in your workflows. Opens the full-featured Sketch Editor for image assets.
Docs: Asset Management · Sketch Editor
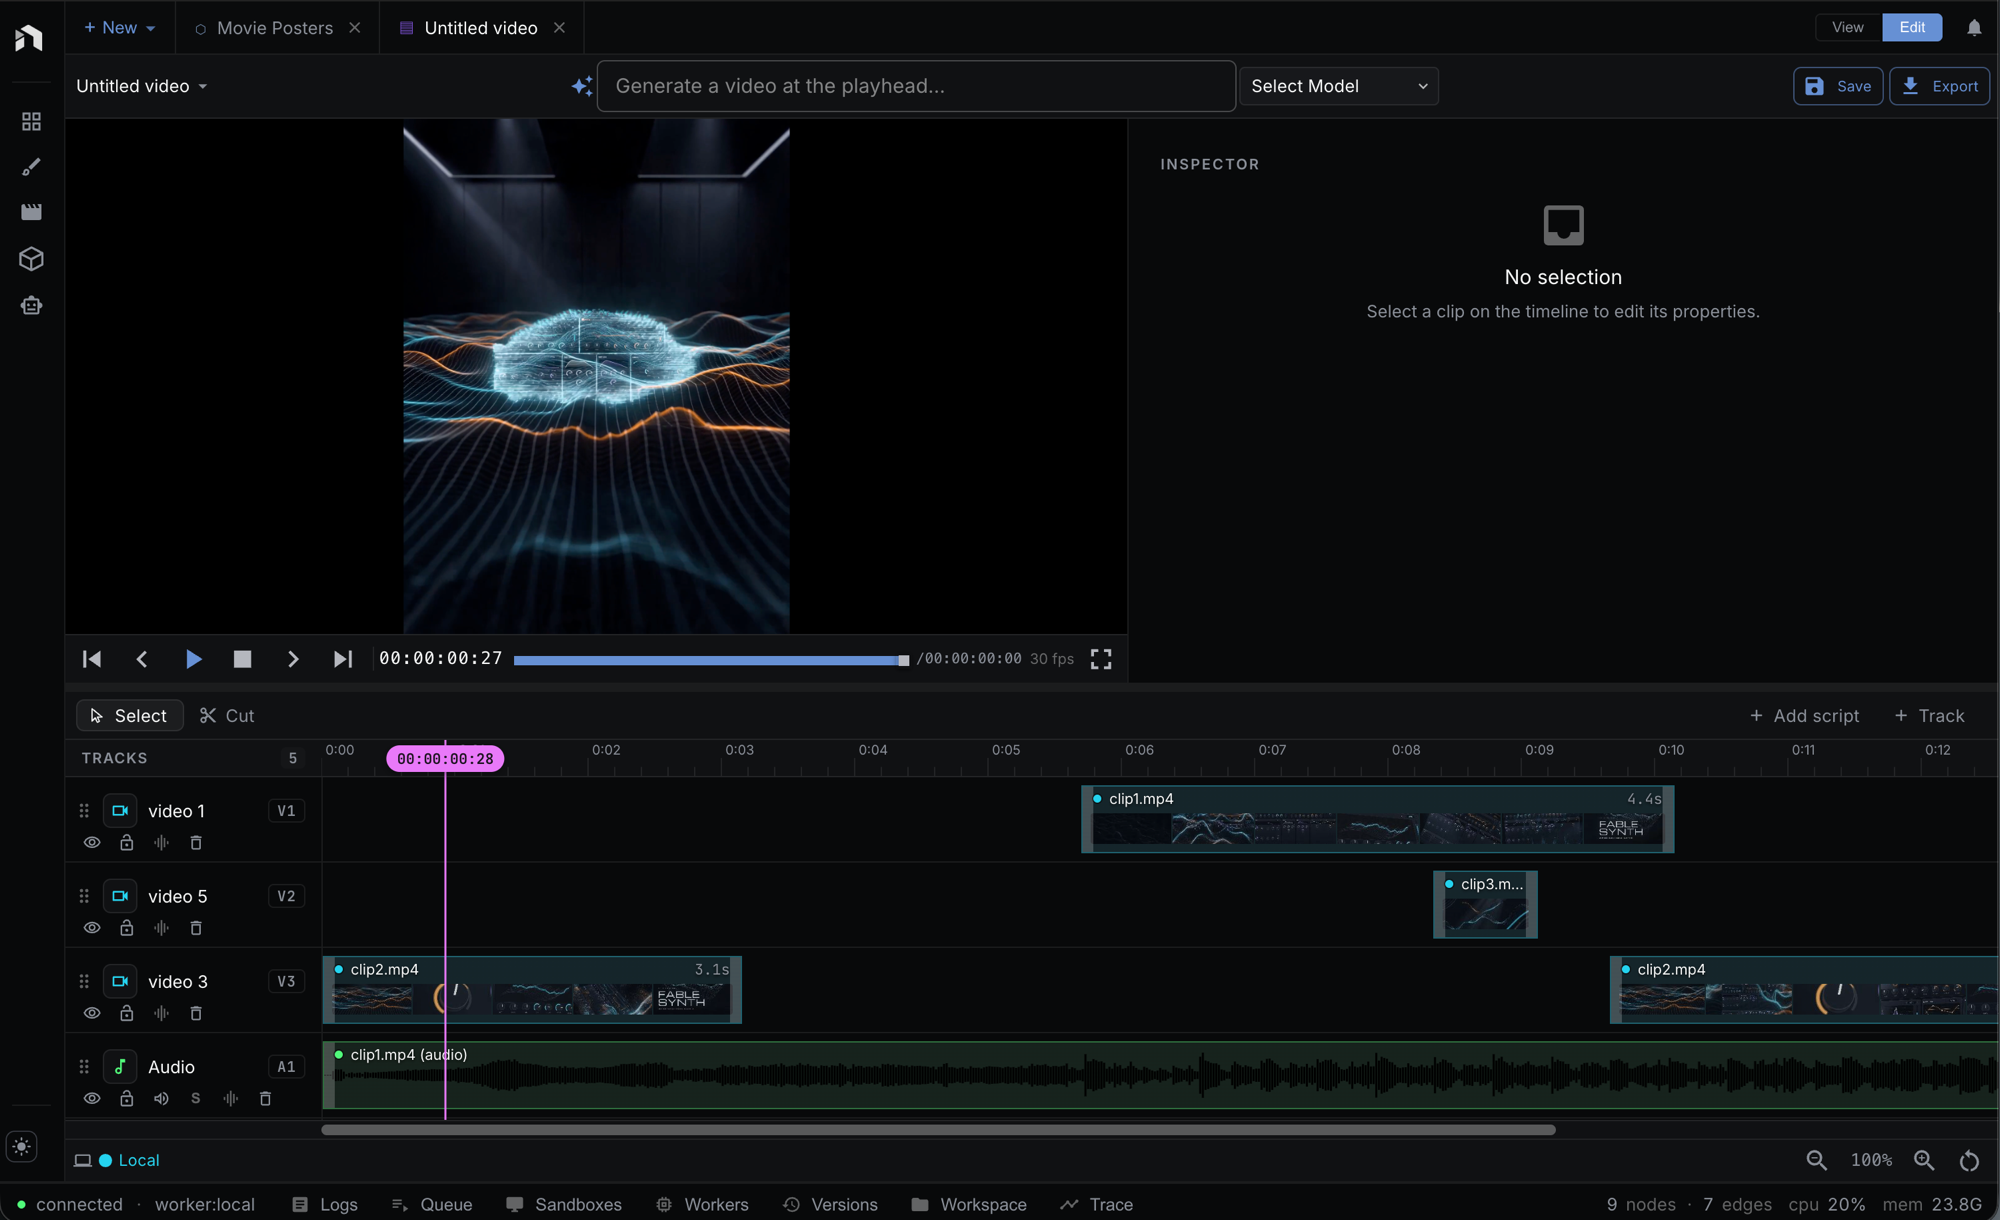
Video Editor — /timeline/:sequenceId
A generation-aware timeline editor. Sequence video, audio, and image clips across multiple tracks — clips can be imported media or live workflow outputs that regenerate when you change their parameters. Composite a preview in real time and export the whole timeline to MP4.
Docs: Video Editor
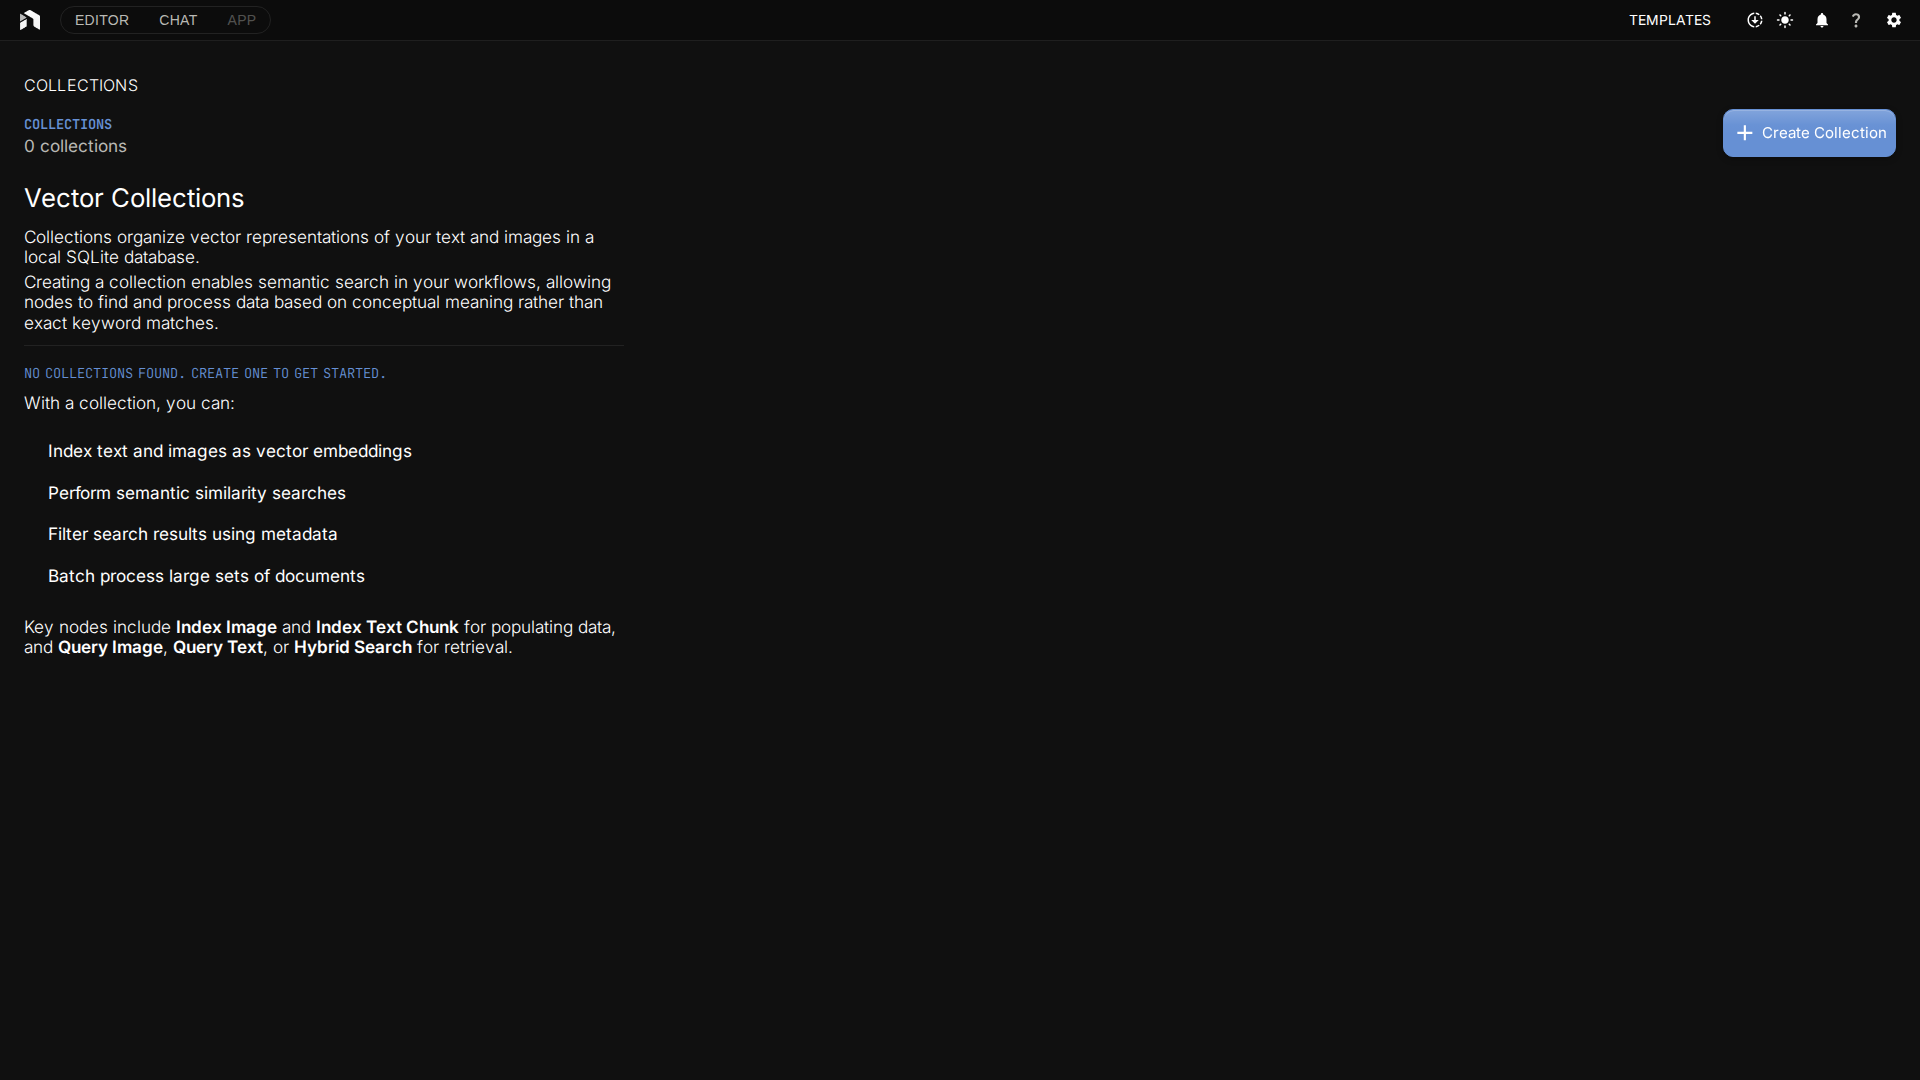
Collections — /collections
Group related documents into indexable collections for RAG workflows.
Docs: Collections · Indexing
Examples / Templates — /examples
Ready-to-use example workflows organized by tag and use case. Templates also surface on the Dashboard.
Docs: Templates Gallery
Models Manager — /models
Find, install, filter, and manage local and cloud AI models.

Docs: Models Manager
Settings — Dialog
Central configuration surface: general preferences, provider API keys, folders, secrets, remote, and about.
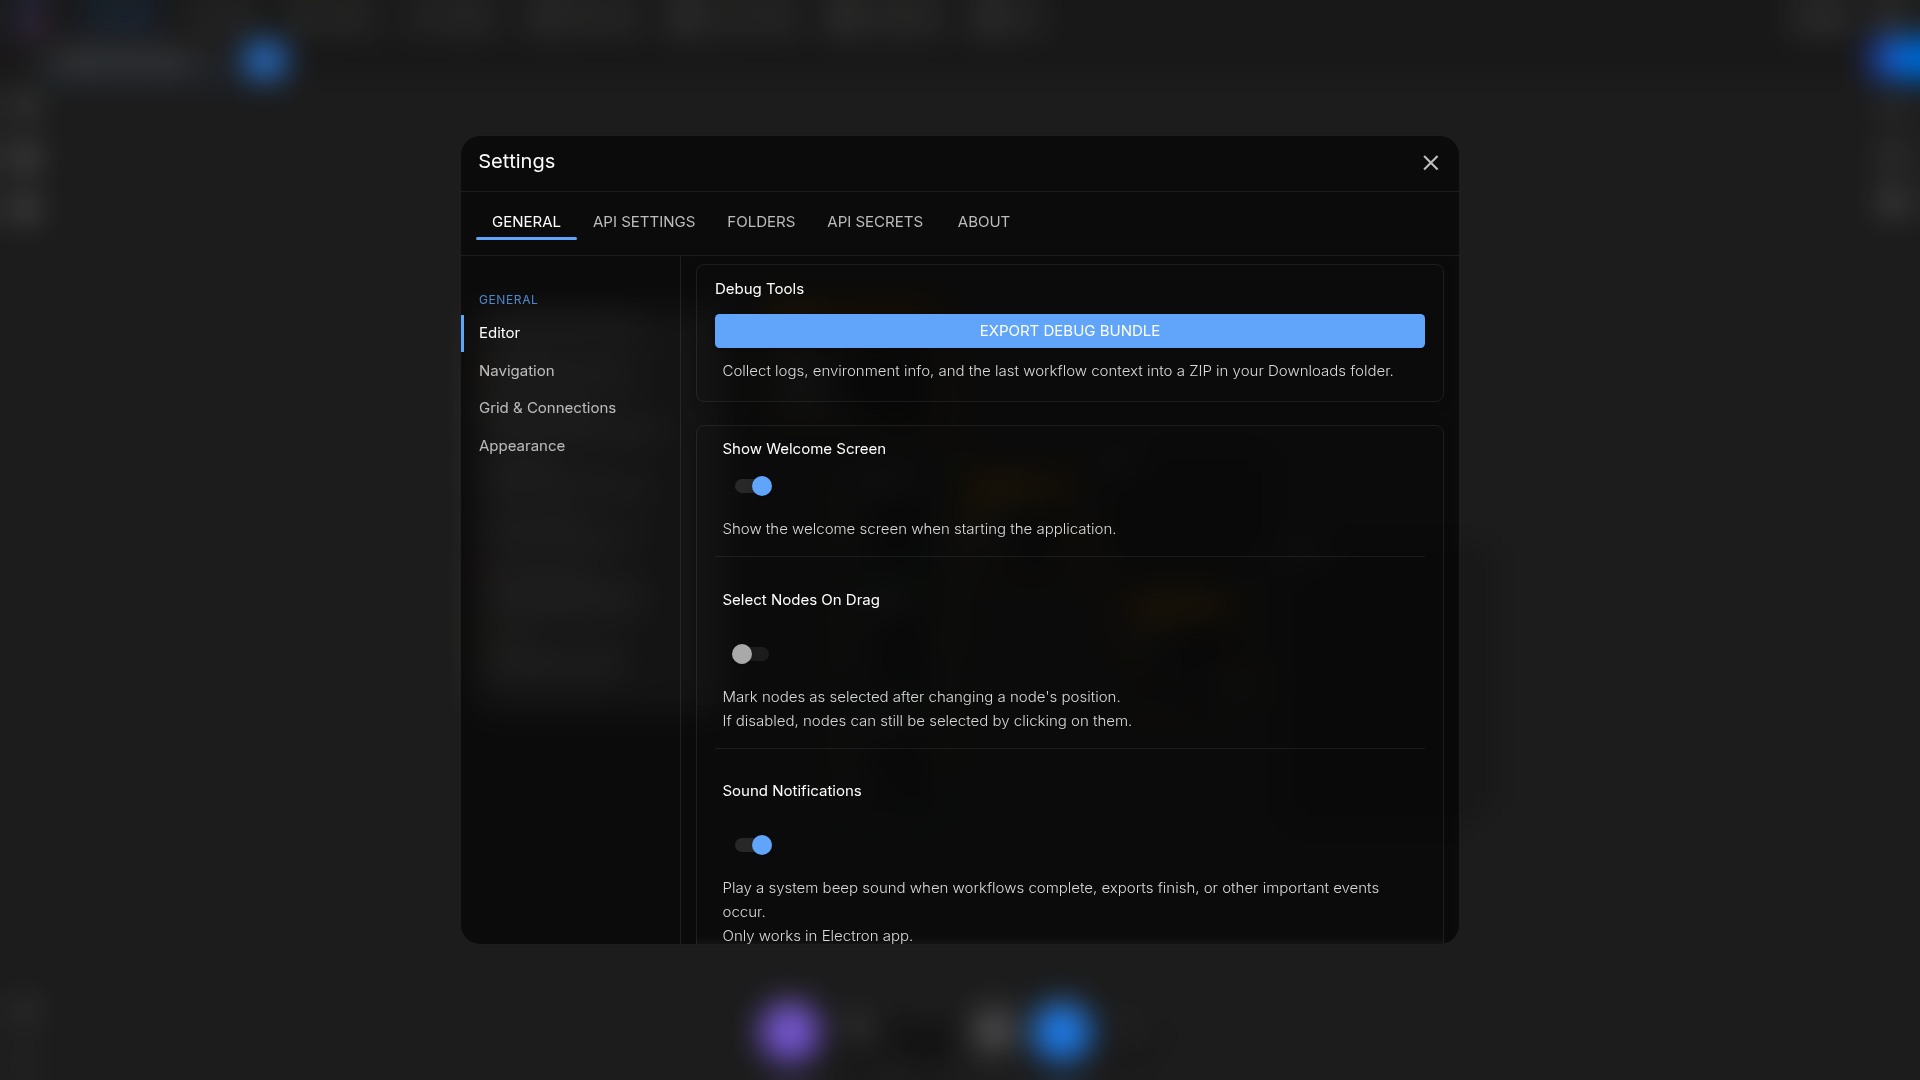
Docs: Configuration · Models & Providers
Mobile
Touch-optimized Dashboard, Chat, and Graph Editor. See Mobile App for the full set.
Desktop (Electron)
The desktop app shares all the views above, plus an Install Wizard, System Tray, and frameless mini-app windows. See Desktop App Views.
At a glance
Five workspaces:
| Workspace | Purpose |
|---|---|
| Dashboard | Home, templates, recent projects |
| Canvas | Build and run workflows |
| Chat | Chat with models, run agents |
| Mini-Apps | Run workflows behind a simple UI |
| Assets | Files and media |
The App Menu
The logo at the top of the left rail opens the app menu — your navigation hub:

- Dashboard – Home screen
- Examples – Browse ready-to-run example workflows
- Costs – Usage and cost tracking
- Model Manager – Manage your AI models (Flux, Qwen Image, etc.)
- Collections – RAG document collections
- Workspaces – Configure workspace folders (when enabled)
- Settings – Configure API keys, preferences, account
- Help – Documentation and support
- Downloads – Model/asset download progress
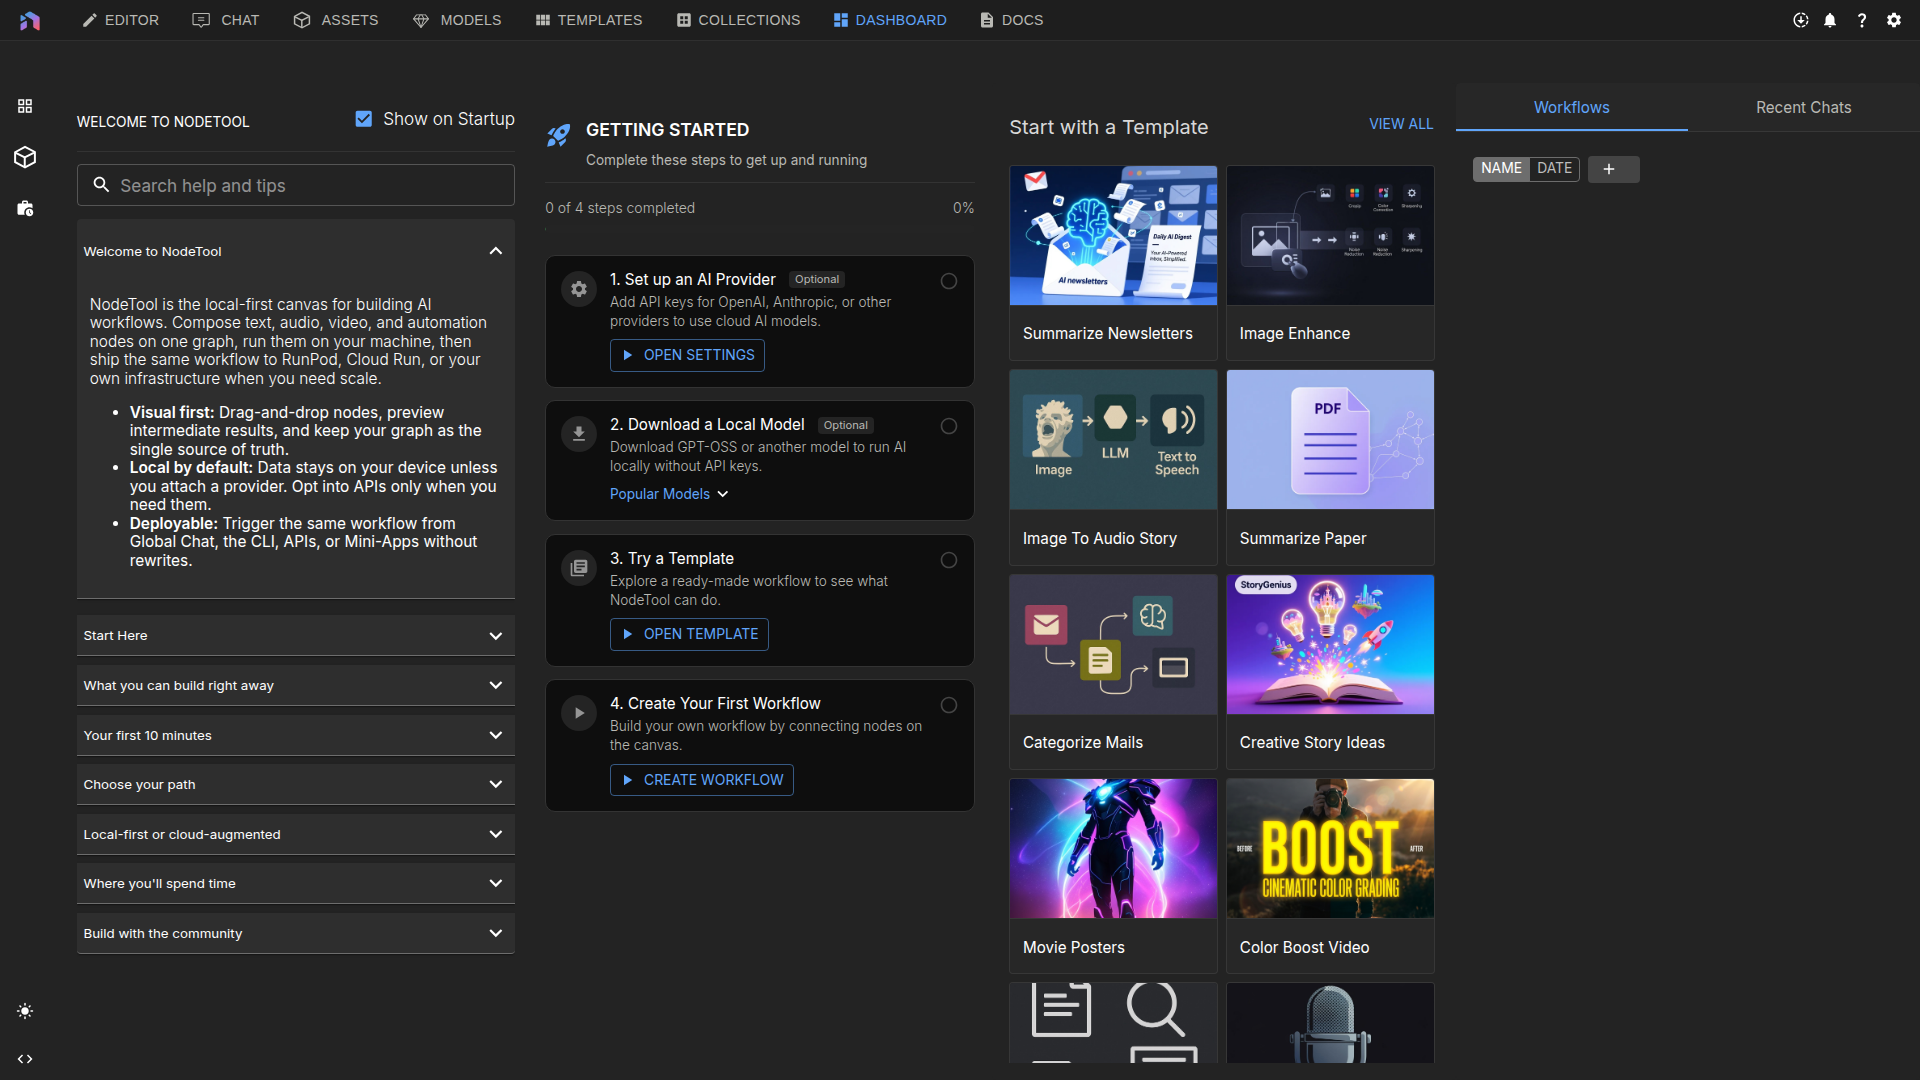
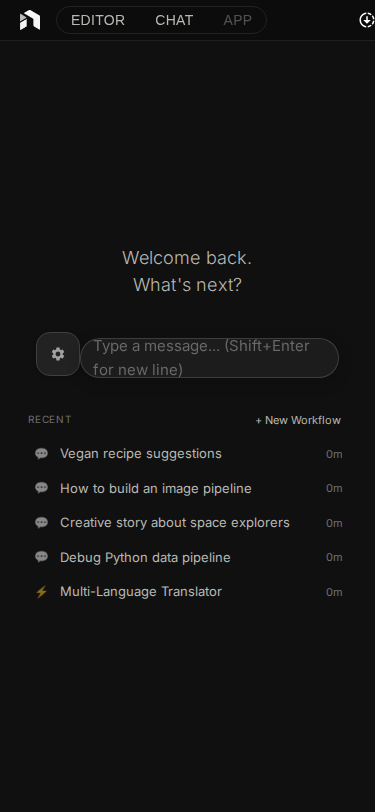
Dashboard
The Dashboard is the home screen.
Contents
- Your Workflows – Saved projects
- Templates – Ready-to-use workflows
- Recent Chats – Past conversations
- Getting Started Panel – Interactive onboarding guide for new users with step-by-step instructions
Common Actions
| Task | How to Do It |
|---|---|
| Start a new creation | Click “New Workflow” button |
| Open a saved workflow | Click any workflow card |
| Try a template | Browse Templates, click to open |
| Continue a chat | Click a recent chat thread |
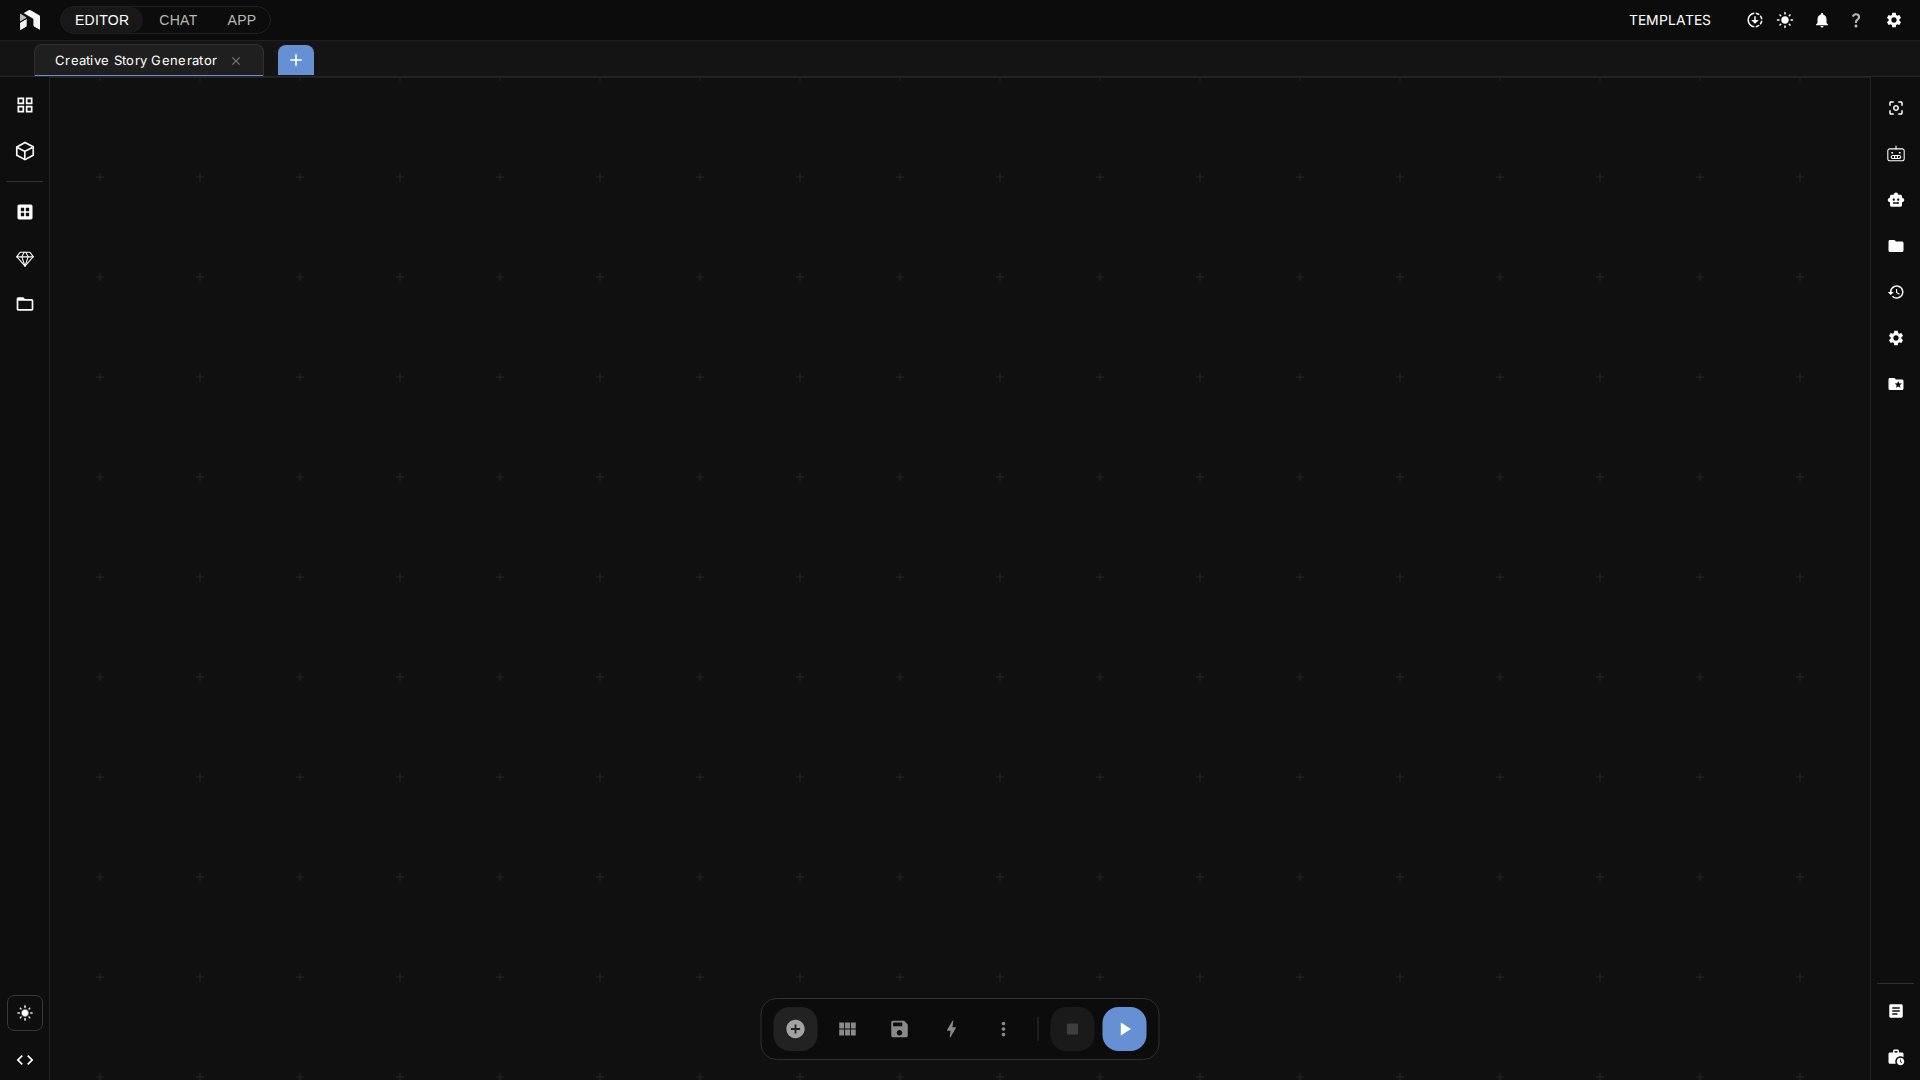
Workflow Canvas
Build workflows visually by connecting nodes.
The Canvas
The center area is an infinite canvas for arranging workflows.
Navigation:
- Pan: Hold
Spaceand drag, or right-click drag - Zoom:
Ctrl/⌘+ scroll wheel - Fit all: Press
F
Adding Nodes
To add a node:
- Press
Spaceanywhere on canvas, OR - Double-click an empty area
This opens the Node Library:
- Search by typing (e.g., “generate image”, “transform video”)
- Browse categories on the left (Image, Video, Audio, Text)
- Click a node to add it
Connecting Nodes
Connections show data flow between nodes:
- Find the circles on nodes (outputs on right, inputs on left)
- Click and drag from an output circle
- Release on an input circle of another node
Tip: Drop a connection on empty space to see compatible nodes.
Properties Panel
When you select a node, the right panel shows its configuration:
- Inputs – What the node needs
- Settings – Configuration options
- Output – What the node produces
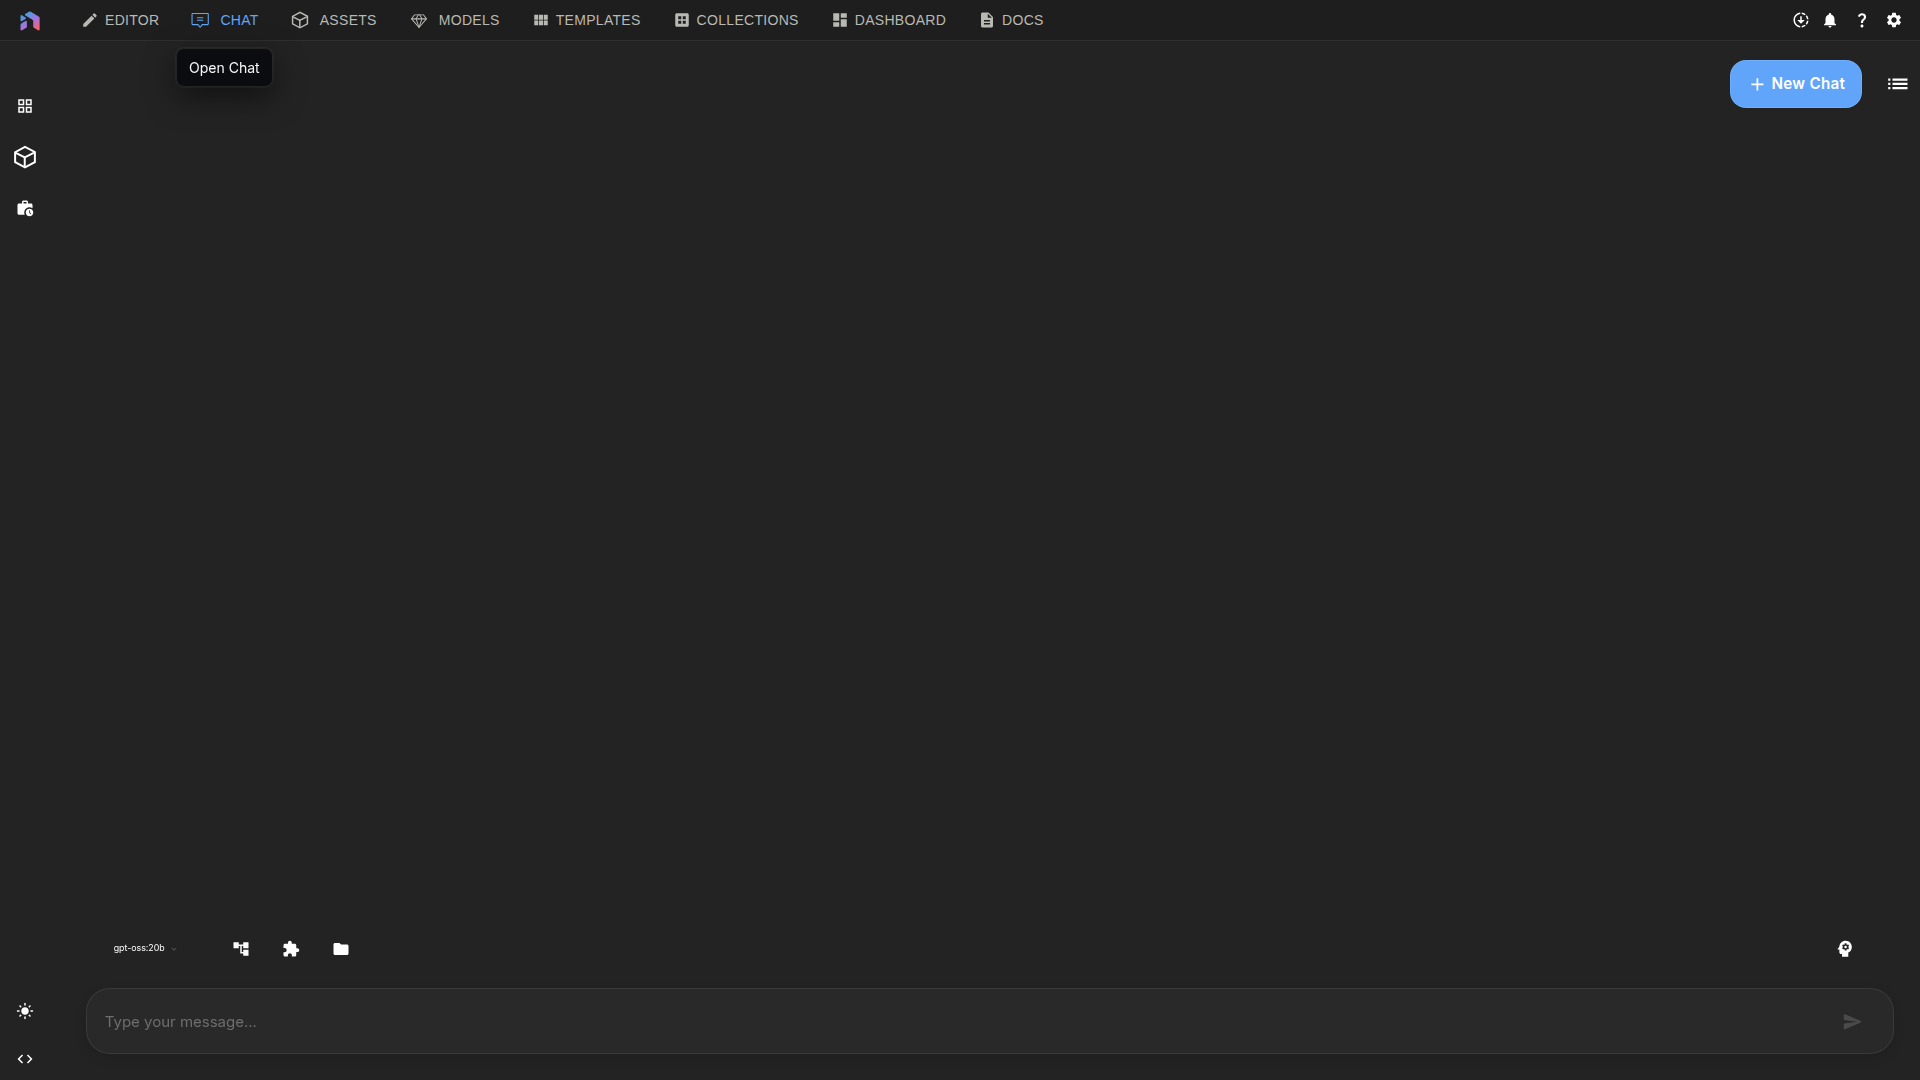
Chat
AI assistant built into NodeTool.
Features
- Chat with AI models
- Run workflows from conversation
- Agent loop for autonomous, multi-step task execution
- File sharing – images, audio, documents
Chat Features
| Feature | Description |
|---|---|
| Threads | Multiple conversations, each with its own history |
| Model Selector | Choose which AI model to chat with |
| Workflow Menu | Attach and run your saved workflows |
| Agent Loop | The AI uses tools and modifies your canvas as each task needs |
Standalone Chat Window
Access chat directly from the system tray for quick conversations:
- Quick Access: Click the tray icon → Chat to open a dedicated chat window
- Focused Interface: Chat without the full NodeTool interface
- Background Access: Start conversations while other apps are open
- Thread Persistence: All threads sync with the main application
Mini-Apps
Convert workflows into simple apps.
Purpose
- Hide complexity – Users see only inputs and outputs
- Share easily – No NodeTool knowledge required
- Focused interface – Just what users need
How It Works
- Build your workflow in the Editor
- Click Mini-App in the top-right
- See a clean interface with just:
- Input fields (from your Input nodes)
- Run button
- Output results
Standalone Mini-App Windows
Launch mini-apps in dedicated windows from the system tray:
- Quick Launch: Right-click the tray icon to see available mini-apps
- Independent Windows: Run mini-apps without opening the main editor
- Background Execution: Keep mini-apps running while working on other tasks
Assets
The Asset Explorer manages all your files.
Supported Files
- Images: PNG, JPG, GIF, WebP
- Audio: MP3, WAV, M4A
- Video: MP4, MOV, WebM
- Documents: PDF, TXT, Markdown
Working with Assets
| Action | How |
|---|---|
| Upload files | Drag & drop into Assets panel |
| Use in workflow | Drag asset onto the canvas |
| Preview | Click any asset to preview |
| Organize | Create folders, rename files |
Audio Player
The built-in audio player features waveform visualization:
- Visual Waveforms: See the audio shape with WaveSurfer.js integration
- Playback Controls: Play, pause, and seek through audio files
- Preview in Workflows: Audio results display with interactive waveforms
Models Manager
Download, organize, and configure AI models.
Finding Models
- Search by name or task type
- Filter by provider (local, OpenAI, etc.)
- Sort by size or popularity
Managing Downloads
- One-click install for any supported model
- Progress tracking in the header
- Space usage shown per model
- Easy uninstall to free space
Panels and Layout
NodeTool’s interface is flexible – customize it to your workflow.
Rearranging Panels
- Move: Drag a panel tab to a new location
- Split: Drag a tab to the edge of another panel
- Resize: Drag the borders between panels
- Close: Click the X on any tab
- Restore: Use View menu to add closed panels back
Saving Layouts
Your layout is saved automatically. To reset:
- View → Reset Layout restores defaults
Command Menu
Press Ctrl+K (Windows/Linux) or ⌘+K (Mac) to open the Command Menu.
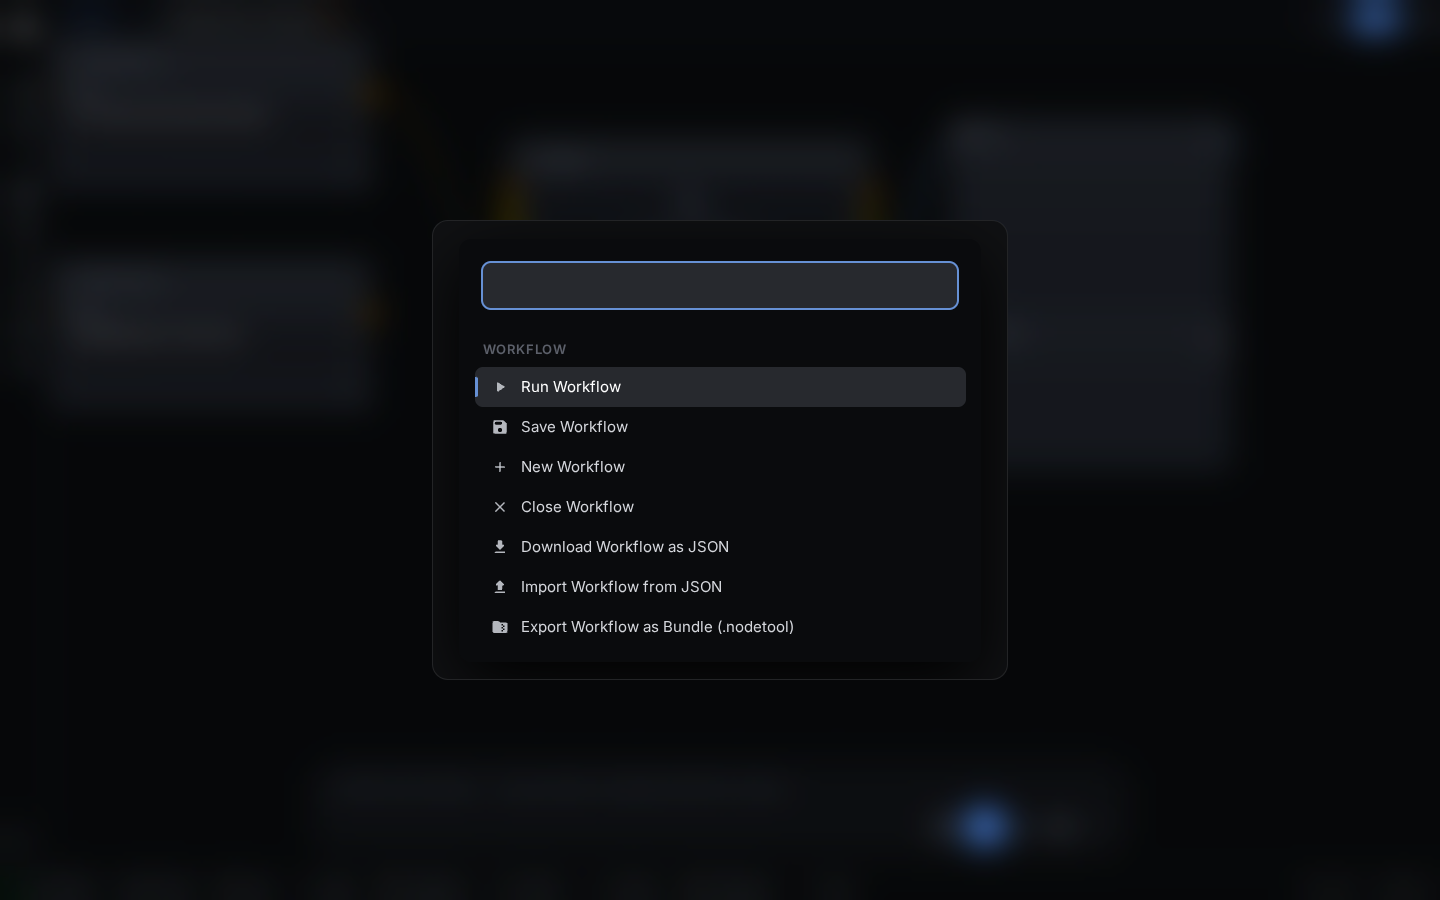
This is the fastest way to:
- Open any workflow
- Switch between sections
- Search for anything
- Access settings
Just start typing what you want!
Keyboard Shortcuts
Essentials
| Shortcut | Action |
|---|---|
Space |
Open node menu |
Ctrl/⌘ + Enter |
Run workflow |
Ctrl/⌘ + S |
Save |
Ctrl/⌘ + Z |
Undo |
F |
Fit view |
Esc |
Stop workflow |
All Shortcuts
Global
| Shortcut | Action |
|---|---|
Ctrl+K / ⌘+K |
Command Menu |
Ctrl/⌘+N |
New workflow |
Ctrl/⌘+O |
Open workflow |
Ctrl/⌘+S |
Save |
Ctrl/⌘+Z |
Undo |
Ctrl/⌘+Shift+Z |
Redo |
Ctrl/⌘+1…9 |
Switch tabs |
Editor
| Shortcut | Action |
|---|---|
Space + Drag |
Pan |
Ctrl/⌘ + Scroll |
Zoom |
F |
Fit to screen |
Ctrl/⌘+Enter |
Run workflow |
Esc |
Stop workflow |
Ctrl/⌘+D |
Duplicate |
Ctrl/⌘+G |
Group |
A |
Align nodes |
Delete / Backspace |
Delete selection |
Chat
| Shortcut | Action |
|---|---|
Enter |
Send message |
Shift+Enter |
New line |
Esc |
Stop generation |
Next Steps
- Workflow Editor deep dive – Master the canvas
- Editor Panels – Left, right, bottom, and floating panels
- Tips & Tricks – Power user secrets
- Cookbook – Learn workflow patterns