
A workspace is a folder that NodeTool can safely access for reading and writing files during workflow runs, agent tasks, and chat sessions.
Why workspaces exist
Workspaces make local file access explicit and controlled:
- Keep project files organized under known roots
- Limit file operations to approved directories
- Share the same folder roots across workflows and agent tools
Manage workspaces in the app
Workspaces have their own full-screen page at /workspaces (not a Settings tab):
- Open the app menu (click the logo at the top of the left rail).
- Choose Workspaces.
- Click Add Workspace and pick a directory. The path must be absolute, exist, be a directory, and be writable.
- Use the star on a row to make it the default workspace. The default workspace has no remove button.
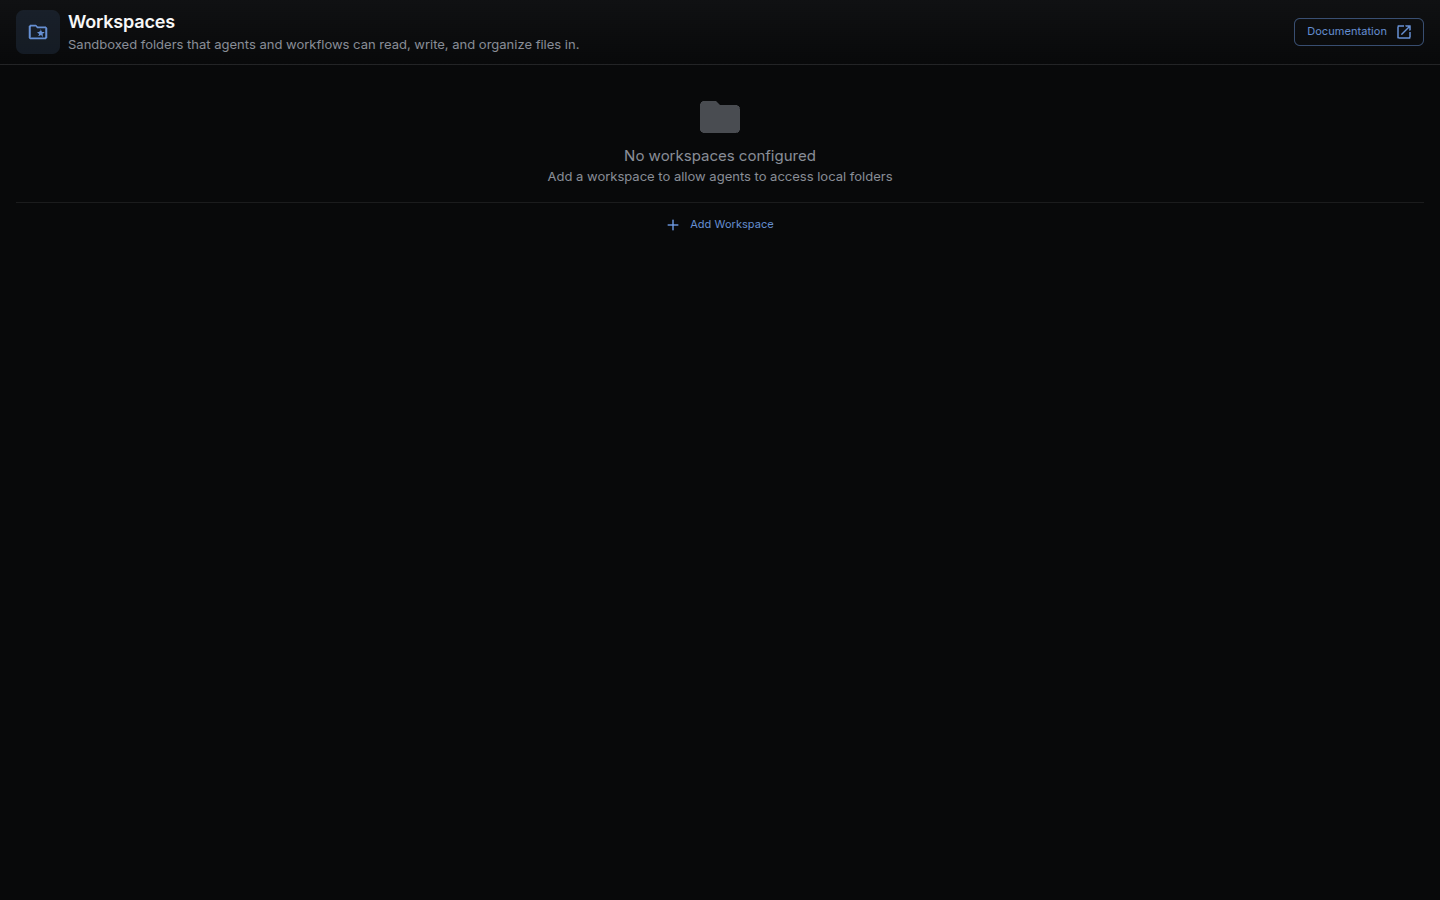
After adding a workspace, NodeTool can browse files, list folders, and read/write files inside the configured root. A row marked Inaccessible points at a folder the server can no longer reach.
Workspaces also appear in the Workspace view of the left panel, which browses the current one as a file tree, and under Advanced in the workflow form, which pins a workflow to one. Every user gets a default workspace the first time the list loads.
What a cloud deployment allows
Pointing a workspace at a host folder browses the server’s filesystem, so
NODETOOL_ENV=production refuses create, update, and delete
(packages/websocket/src/trpc/routers/workspace.ts). Reading stays open: every
user gets a server-managed workspace under the data dir, and listing and
downloading from it reach nothing the deployment did not create itself.
The server says which of the two applies in can_manage on workspace.list,
and the UI reads it through useWorkspaces(). So every workspace surface is
present on a cloud deployment, and the only missing control is Add
Workspace, which would open a folder picker with nothing to browse.
Where workspaces are used
- Agents and chat tools for file operations
- The Code node, whose
workspace.*API (read,write,list,stat,mkdir,remove,copy,move) is confined to the workspace unless Allow Host Filesystem is on
API
The tRPC workspace router has list, create, update, delete, listFiles, readFile, and writeFile (packages/websocket/src/trpc/routers/workspace.ts). Paths passed to the file procedures are workspace-relative. Absolute paths are refused and traversal answers 403. Binary reads use GET /api/workspaces/:id/download/:path (packages/websocket/src/workspace-api.ts).
Related docs
- Workflow Editor
- Storage Guide
- Node Reference:
nodetool.code— workspace file access now goes through the Code node’sworkspace.*API