The canvas: place nodes, connect ports, run, debug. Covers basic navigation through node bypass and auto layout.
New here? Start with Getting Started, then come back.
For panel-by-panel detail, see Editor Panels.
Where this fits
The workflow editor is NodeTool’s automation layer. A workflow reads assets, calls models, and writes new assets — which flow on into the Sketch Editor and Video Editor for hand editing, come back as fresh assets, or ship to non-technical users as a Mini-App. Every surface shares this graph’s outputs through one asset store and the same model/provider system.
See Key Concepts → How everything fits together for the full loop.
Editor Layout
| Area | Where | What It Does |
|---|---|---|
| Canvas | Center | Place and connect nodes |
| Side Panels | Left | Workflows, nodes, assets, timelines, sketches, favorites |
| Composer | Bottom | Chat, run, save, auto-layout |
Canvas Basics
Your infinite workspace.
Navigate:
| Do This | How |
|---|---|
| Pan | Space + drag, or right-click drag |
| Zoom | Ctrl/⌘ + scroll |
| Fit everything | F |
| Reset zoom (to 50%) | Ctrl/⌘ + 0 |
The grid helps align nodes. Turn on Snap to Grid in View menu.
Working with Nodes
Each node does one thing.
Add Nodes
Space bar:
- Press
Spaceanywhere - Type what you want (“image”, “text”)
- Click to add
Double-click:
- Double-click empty space
- Opens node menu
Smart connect:
- Drag from a node’s output
- Drop on empty space
- See compatible nodes
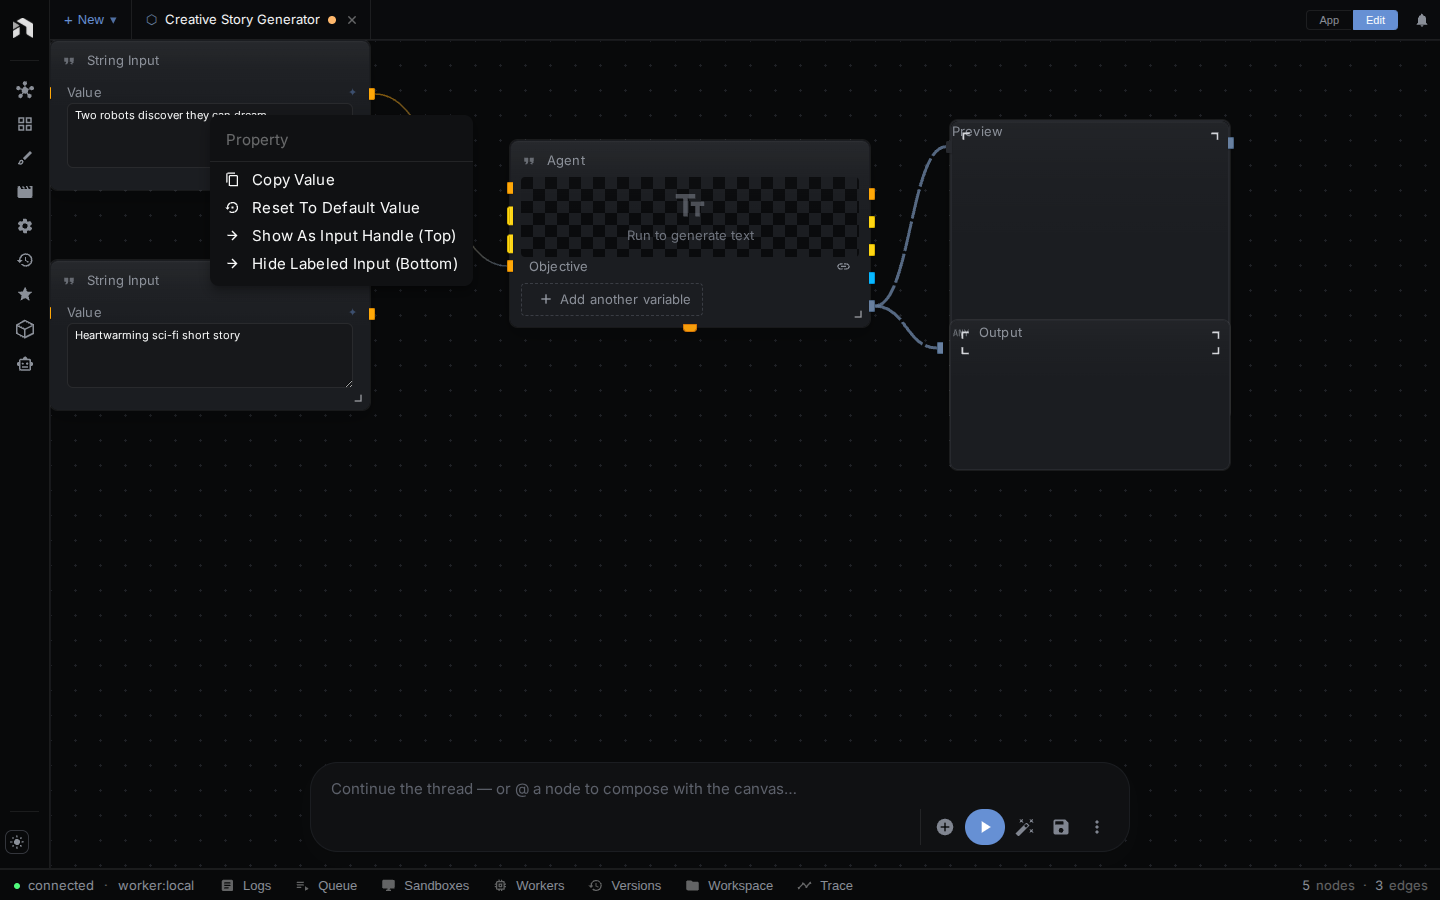
Node Structure
- Header (top) - Name, drag to move
- Inputs (left circles) - Data in
- Outputs (right circles) - Data out
- Properties - Settings panel
Select Nodes
| Do This | How |
|---|---|
| One | Click it |
| Multiple | Shift + click, or drag box |
| All | Ctrl/⌘ + A |
| None | Click canvas |
Move Nodes
- Drag header to move
- Arrow keys to nudge
- Auto Layout button to organize
Bypass Nodes
Skip temporarily without deleting:
- Right-click node
- Select Bypass Node
- Node dims, data passes through
Good for:
- Testing - Compare with/without
- Debugging - Isolate problems
- A/B testing - Toggle effects
Re-enable: Right-click → Enable Node
Connections
Connections are the lines between nodes that show how data flows through your workflow. Data always flows left to right — from output ports (right side of a node) to input ports (left side of another node).
Make Connections
- Click output circle (right side)
- Drag the line to an input circle (left side of another node)
- Release to connect
Connection Rules
- Types must match: You can only connect compatible types (text to text, image to image)
- One input, multiple outputs: Each input accepts one connection; outputs can connect to many
- Color coding: Connection colors indicate data type
Removing Connections
- Click a connection line, then press
Delete - Right-click a connection for options
- Drag the connection away from its target and release
Smart Connections
When you drag a connection and release on empty space, the Connection Menu appears:
- Auto-create common nodes for that data type
- Browse compatible nodes filtered by what can receive the data
- Cancel by pressing
Esc
Running Workflows
Starting a Run
| Method | How |
|---|---|
| Button | Click Run in the bottom toolbar |
| Keyboard | Ctrl/⌘ + Enter |
Watching Progress
- Streaming nodes show output as it’s generated
- Preview nodes display intermediate results
- Node borders indicate status (running, complete, error)
- Edge animations show data flowing between nodes
Stopping a Run
| Method | How |
|---|---|
| Button | Click Stop (enabled when running, paused, or suspended) |
| Keyboard | Esc |
Organizing Your Workflow
Auto Layout

Click the Auto Layout button in the floating toolbar to automatically arrange your nodes in a clean, readable layout. The editor also auto-arranges nodes when Chat creates or modifies workflows. (There is no keyboard shortcut for auto-layout — it’s a toolbar button only.)
Grouping Nodes
Select multiple nodes and press Ctrl/⌘ + G to group them. Groups:
- Keep related nodes together
- Can be collapsed to save space
- Move as a unit
Aligning Nodes
| Shortcut | Action |
|---|---|
A |
Align selected nodes |
Shift + A |
Align and distribute evenly |
Left Panel
Access these views by clicking icons on the left rail: Nodes, Workflows, Sketches, Timelines, Settings, History, Favorites, Assets, and Agent. See Editor Panels → Left Panel for details on each.
Right Panel (Inspector)
- Detailed properties for selected nodes
- Input/output documentation
- Validation errors and warnings
The right panel hosts only the Inspector. Logs, Queue, Trace, Version History, and Workspace live in the Bottom Panel.
Finding Nodes
The Node Menu
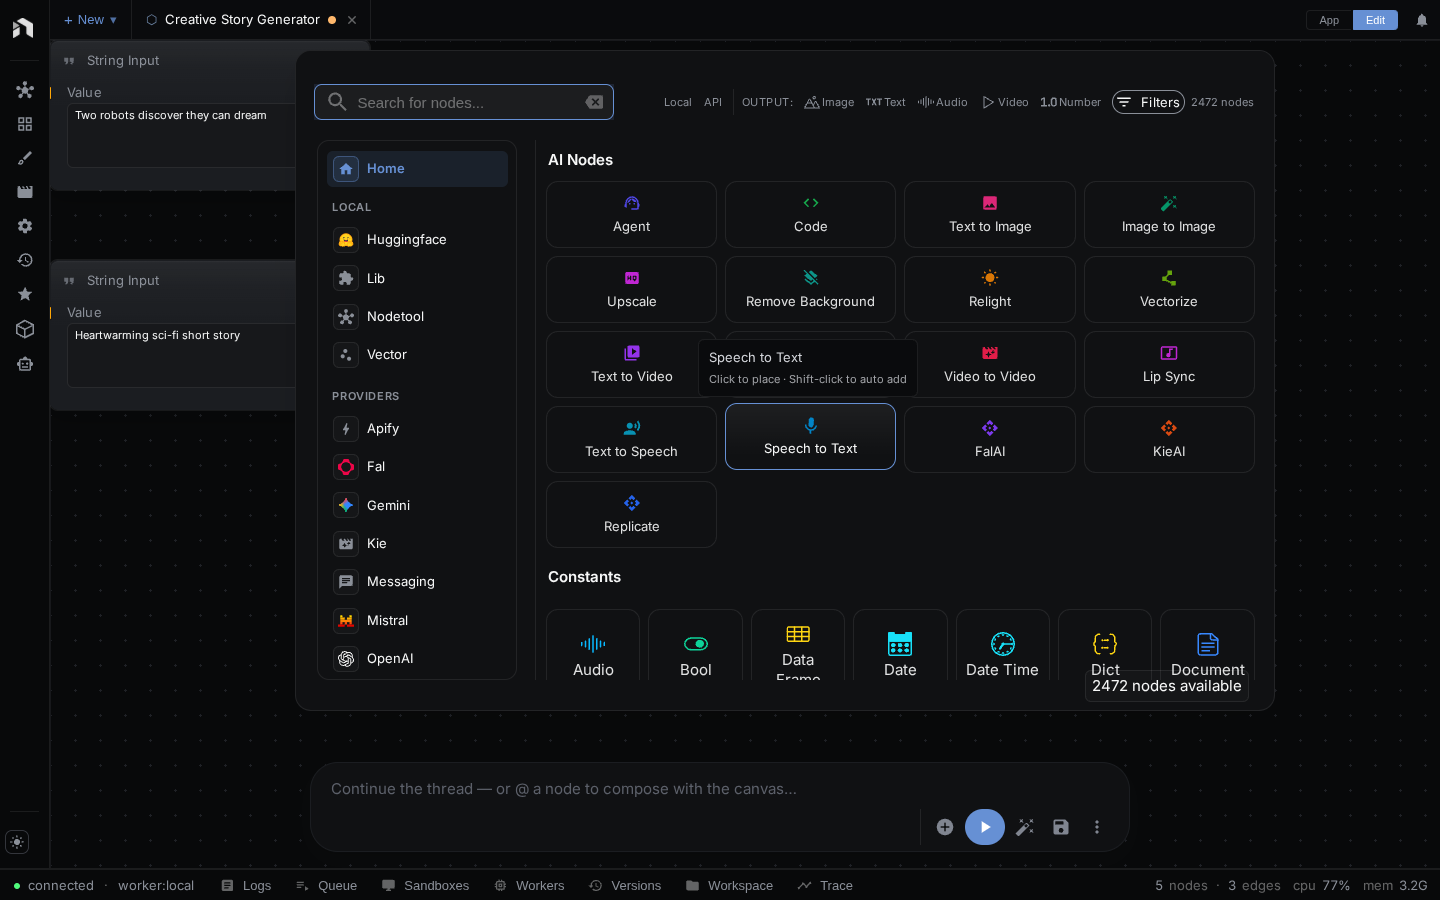
Press Space to open, then:
- Search: Just start typing (“whisper”, “image”, “agent”)
- Browse: Explore the category tree on the left
- Filter: Click the filter icon to show only nodes with specific input/output types
- Move: Drag the menu to reposition it
- Close:
Escor click outside
Node Documentation
Get help on any node:
- In the Node Menu: Hover over a node to see its description
- Inspector: Select a node and view full documentation in the right panel
Context Menus
Right-click for options anywhere:
| Location | Options |
|---|---|
| Canvas | Add node, paste, select all |
| Node header | Copy, duplicate, delete, group, bypass |
| Input/Output | Disconnect, add compatible node |
| Connection | Delete, add node in middle |
Built-in Editors
NodeTool includes professional editing tools for creative work.
Sketch Editor
Open a blank canvas from + New → New image in the workspace tab bar, or edit an existing image asset, to use the full layered editor:
- Layers: Blend modes, per-layer opacity, lock, and visibility
- Painting: Brush, pencil, eraser, fill, gradient, blur, clone stamp
- Shapes & transform: Rectangle, ellipse, line, arrow, crop, free transform
- AI generation: Generate a layer from a prompt or bind it to a workflow
- History: Unlimited undo/redo
📖 Full Guide: See Sketch Editor for complete documentation with tool reference, shortcuts, and workflows.
Color Picker
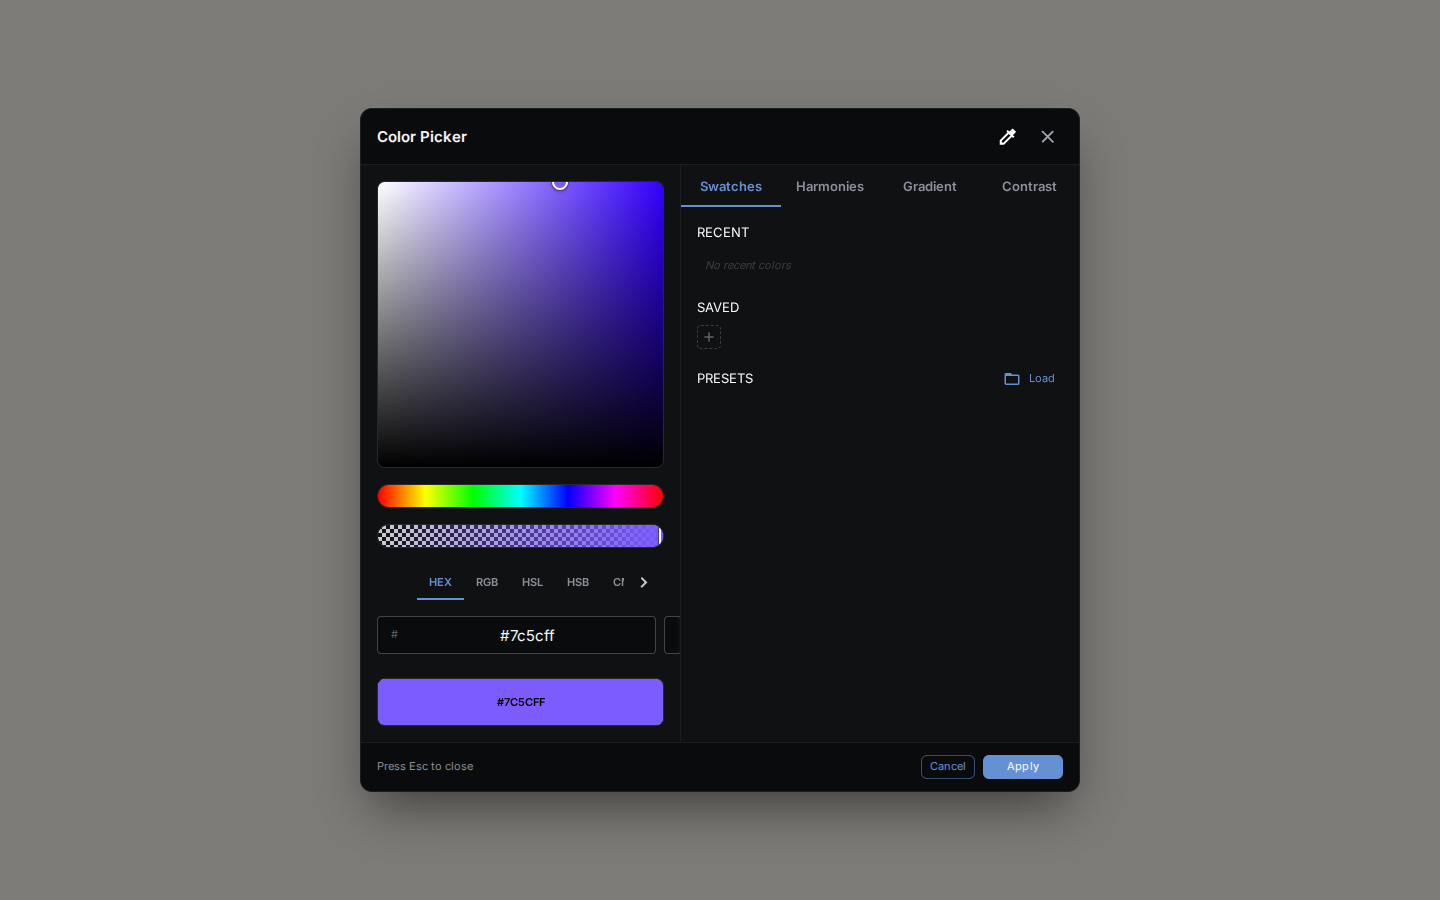
The color picker appears when selecting colors in properties:
- Visual Selection: Saturation/brightness picker with hue slider
- Multiple Formats: Enter values as HEX, RGB, or HSL
- Harmony Modes: Complementary, triadic, analogous color suggestions
- Gradient Builder: Create and edit color gradients
- Swatches: Save and reuse favorite colors
- Contrast Checker: Verify accessibility compliance
- Eyedropper: Pick colors from anywhere on screen
Keyboard Shortcuts
Essential Shortcuts
| Shortcut | Action |
|---|---|
Space |
Open node menu |
Ctrl/⌘ + Enter |
Run workflow |
Ctrl/⌘ + S |
Save |
Ctrl/⌘ + Z |
Undo |
F |
Fit view |
Esc |
Stop / Cancel |
All Editor Shortcuts
| Shortcut | Action |
|---|---|
Ctrl/⌘ + C |
Copy |
Ctrl/⌘ + V |
Paste |
Ctrl/⌘ + X |
Cut |
Ctrl/⌘ + D |
Duplicate horizontally |
Ctrl/⌘ + Shift + D |
Duplicate vertically |
Ctrl/⌘ + G |
Group selection |
Ctrl/⌘ + 0 |
Reset zoom to 50% |
Ctrl/⌘ + 1-9 |
Switch to tab 1-9 |
A |
Align selected nodes |
Shift + A |
Align and distribute |
Arrow keys |
Nudge selected nodes |
Delete / Backspace |
Delete selection |
i |
Toggle Inspector |
Tips
Design Principles
- Left to right — Arrange nodes so data flows left to right across the canvas for readability
- Preview often — Add Preview nodes after each major step to inspect intermediate results
- Name clearly — Rename nodes (double-click the header) to describe their purpose, e.g., “Resize to 512px” instead of “Resize”
- Group logically — Keep related nodes together and use Groups (
Ctrl/⌘ + G) to visually organize complex workflows
Debugging
- Add Preview nodes between steps to see exactly what data each node produces
- Check connections — verify data types match (connection colors indicate type)
- Look at node borders — red = error, yellow = running, green = completed
- Test incrementally — bypass downstream nodes and run partial workflows to isolate problems
- Use the Inspector — press
ito see detailed error messages and validation warnings
Performance
- Local models — slower but work offline and are free to use
- Cloud models — faster response times, require internet and API keys
- Streaming nodes — show progress during long-running operations (look for the streaming indicator)
- Parallel branches — NodeTool automatically runs independent branches in parallel for faster execution
Next Steps
- Cookbook – Workflow patterns and best practices
- Workflow Examples – Ready-to-use workflows
- Tips & Tricks – Power user features
- Node Reference – All available nodes