Install, open a template, run it, edit it, ship it. About 10 minutes, no account required.
Prefer to watch first? Here’s a full workflow running on the canvas — see the Tutorials page for all of them.
Step 1 — Install
Requirements
| Component | Minimum | Recommended |
|---|---|---|
| RAM | 8 GB | 16 GB+ |
| Disk | 10 GB free | 50 GB+ for models |
| GPU | None | 8 GB+ VRAM for local inference |
| OS | macOS 13+, Windows 10+, Ubuntu 22+ | Latest |
No GPU? Use cloud providers with your keys. See hardware notes.
Install
- Download from nodetool.ai.
- Run the installer.
- Launch. No setup wizard.
Providers: open Settings → Providers and paste a key from OpenAI, Anthropic, or Google. One key is enough to run the templates below.
Step 2 — Run a workflow
Open a template from the Dashboard.
Movie Posters
- Dashboard → Templates → Movie Posters.
- The graph opens: inputs left, agent middle, image generator right, preview last.
- Fill the inputs:
- Title: Ocean Depths
- Genre: Sci-Fi Thriller
- Audience: Adults who love mystery
- Select a model for the Agent and List Generator (requires provider setup).
- Press Ctrl/⌘ + Enter to run.
Nodes light up as they process. Outputs stream into the Preview node on the right — that’s your finished poster.
Creative Story Ideas
- Dashboard → Templates → Creative Story Ideas.
- Set inputs:
- Genre: Cyberpunk
- Character: Rogue AI detective
- Setting: Neon-lit underwater city
- Select a model for the Agent and List Generator (requires provider setup).
- Press Ctrl/⌘ + Enter to run.
Step 3 — Edit
The graph is yours to change. Edit, re-run, repeat — every run reflects the current graph.
- Change an input or swap a model, then press Ctrl/⌘ + Enter to re-run.
- Save your version with Ctrl/⌘ + S.
- Click a node to inspect it. Hover an edge to see the data flowing through. Press
Space, search “Preview”, drop one anywhere on the canvas to watch any value.
Optional node packs
NodeTool ships hundreds of nodes. To keep the node menu focused, advanced and niche namespaces — file system, databases, document conversion, web scraping, code execution, and more — are grouped into optional packs, and provider nodes follow your API keys.
Press Space to open the node menu, then click Optional packs at the bottom of the namespace list.
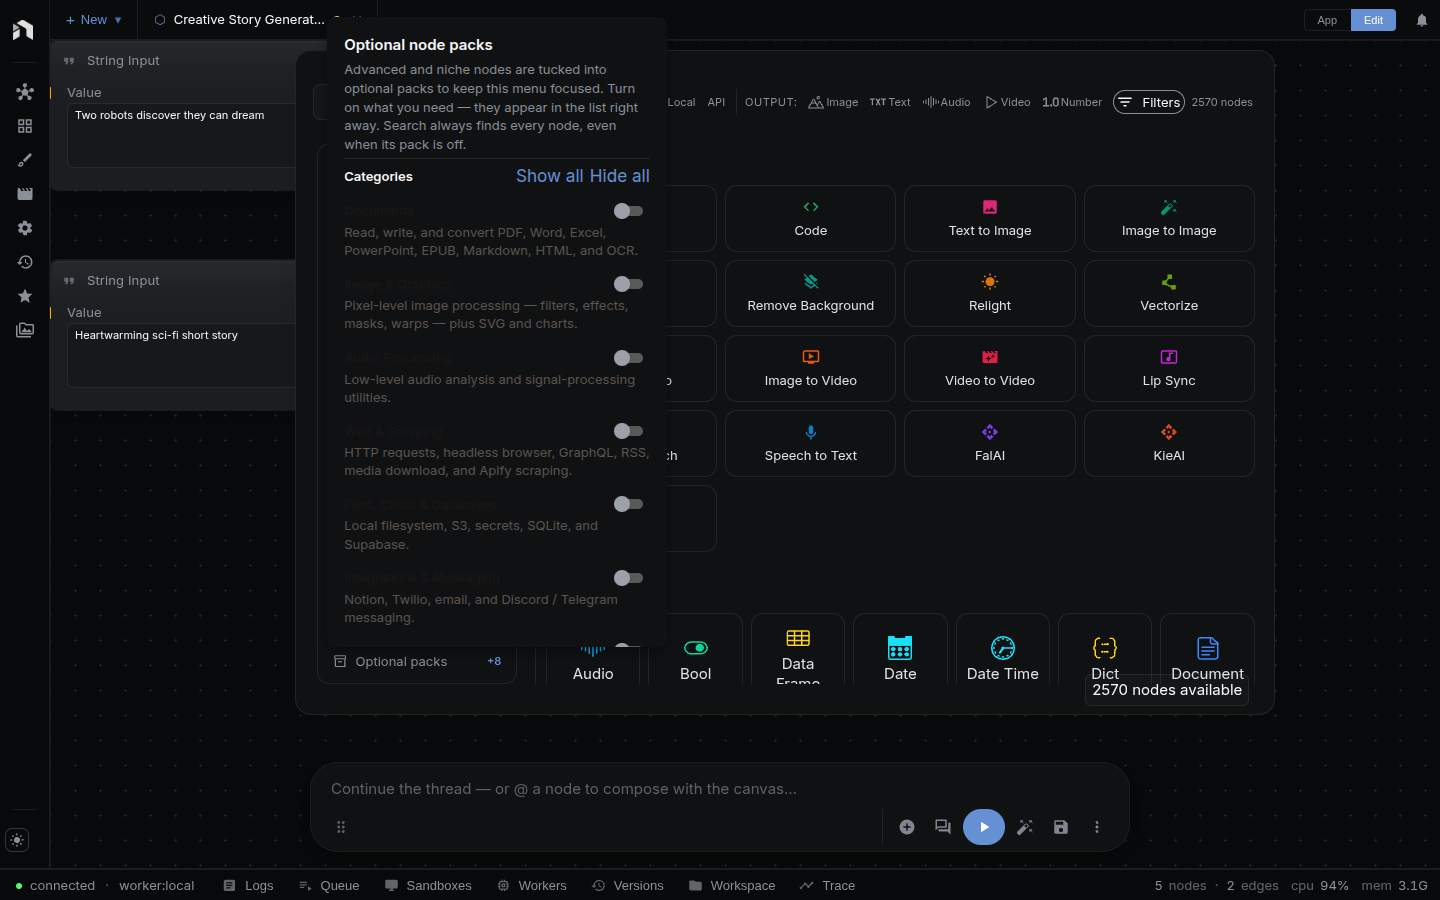
- Categories — turn on a group (Documents, Image & Graphics, Web & Scraping, …) to reveal its nodes in the menu. Search always finds every node, even when its pack is off — so hiding a pack only declutters browsing, it never hides a node from search.
- Providers — a provider’s nodes appear once you add its API key. The key is the switch: set it in Settings → API Keys (or use Add API key right here) and the provider’s pack enables automatically, no restart. Locally-run packs like Transformers.js need no key, so they keep a manual toggle.
Opening a workflow that uses a node from a disabled pack enables that pack for you, so shared workflows just work.
Step 4 — Build an app
A Mini-App hides the graph and exposes inputs and outputs only — a form anyone can use without touching the canvas.
- Open the workflow.
- Click Mini-App in the toolbar.
- Fill the inputs and run. Same workflow, no graph.
Custom UI? See App Builder.
The bigger picture
You just ran the loop NodeTool is built around: collect assets, build a workflow, generate outputs, and share them as a Mini-App. Two more editing surfaces plug into the same loop — the Sketch Editor for layered still images and the Video Editor for timelines — and everything they produce is an asset the others can read. All four surfaces share one asset store and the same model/provider system.
See Key Concepts → How everything fits together for the full loop and diagram.
Next
| Goal | Page |
|---|---|
| How workflows work | Key Concepts |
| Full interface | User Interface, Workflow Editor |
| More examples | Gallery, Cookbook |
| Models and providers | Models & Providers |
| Deploy | Deployment |
| Stuck | Troubleshooting, Debugging |